Showing posts with label Homeschooling in the Kitchen. Show all posts

Monday, July 20, 2015

One Pot Sausage and Roasted Garlic Risotto


Easy One pot meal Sausage and Roasted Garlic Risotto


Despite originating in northern Italy, risotto is one of the most common ways of cooking rice throughout the entire country. Recipes vary by region and family, but they are all based on arborio rice. To create the creamy consistency, instead of boiling rice in a large quantity of cooking liquid, small amounts of broth, wine, or other liquid are added in small but frequent quantities, allowing the starches from the rice to absorb them. Risottos also often contain diced to small-bite sized pieces of vegetables and/or animal proteins, and often are finished with Parmesan cheese. Properly cooked risotto is rich and creamy, but still with some resistance or bite: like pasta, the finished rice is al dente, and the texture of the dish is is fairly fluid - the Italians call it all'onda, or “flowing in waves". It should easily flow across a plate, but not exude liquid.

The finished risotto should be served on flat dishes with a small rim. It should be eaten immediately when finished, because the residual heat will continue cooking the rice. While risotto is traditionally served as a primo, or first course, in Italy, this recipe can easily be eaten as an entree. It's a simple dish to make - the hardest part really is babysitting the pot - but creates an elegant presentation.

Ingredients


2 links chorizo sausage (about 12 oz)
4 links mild Italian sausage (about 1 ½ pounds)
1 med onion, diced
1 pound (2 ¼ cups) arborio rice
1 28oz can roasted tomatoes
 ¼ cup roasted garlic cloves (leave whole)
1 tsp oregano
 7-8 cups liquid (see note)
1 tbs salt (see note)
1 tbs pepper

Note: You can use chicken broth/stock if you prefer to add extra flavor, but just plain tap water works.
If you use broth, you may not need salt. Even low sodium broth can be salty, so taste your dish before adding salt. If you use water, add the salt.

Instructions

  1. Dice the onion finely, and put it in a bowl to the side for later use.
  2. Preheat a large dutch oven over high heat.
  3. Remove sausages from their casings, if necessary. Simply split the casing and turn the meat into the pan.
    Peeling chorizo
  4. Sauté the sausage, breaking it up into smaller pieces. Make sure you mix the chorizo into all of the Italian sausage. (Otherwise one unlucky diner may be taking the heat for the whole table.)
  5. Once the sausage is cooked, take a slotted spoon and transfer it from the pot to a towel-lined bowl, leaving some of the rendered fat in the pot. Set the meat aside.
  6. Using the sausage rendering as your cooking oil, sauté the onion on medium heat until it is caramelized.
  7. Once the onion has caramelized, return the meat to the pot.
  8. Open the can of roasted tomato and drain the liquid into a bowl (you will be using both components).
  9. Add the drained tomatoes, oregano, and the garlic cloves to the pot. Stir to combine. Add the rice to the pot, and saute for 2-3 minutes. Turn heat to medium low.
  10. Slowly add your liquid, one cup at a time. Stir the risotto almost constantly (you can stop for a minute or two, but no more or the starch from the rice will burn.)  
The first cup will come from the tomato juice, then the remaining 7 cups of broth or water. The trick is to add your liquid slowly, and allow the rice to absorb it before adding more. You want to wait until the rice has absorbed enough liquid that the pan is dry when you run a spatula through it.  

Risotto with liquid just added


Risotto with liquid absorbed


At first, the rice will absorb water quickly, however as it absorbs the cooking liquid, the pace will slow.  Add liquid one cup a time to avoid flooding the rice.  After you’ve added about 6 cups of liquid, taste 3-4 grains of rice for doneness. It should be soft  and creamy.  If it’s a bit underdone, add more liquid, about half a cup at a time, making sure it is absorbed completely.  Check again and repeat until rice is done.

Finished risotto


©2012- 2015 Adventures with Jude. All rights reserved. All text, photographs, artwork, and other content may not be reproduced or transmitted in any form without the written consent of the author. http://adventureswithjude.com

Wednesday, February 25, 2015

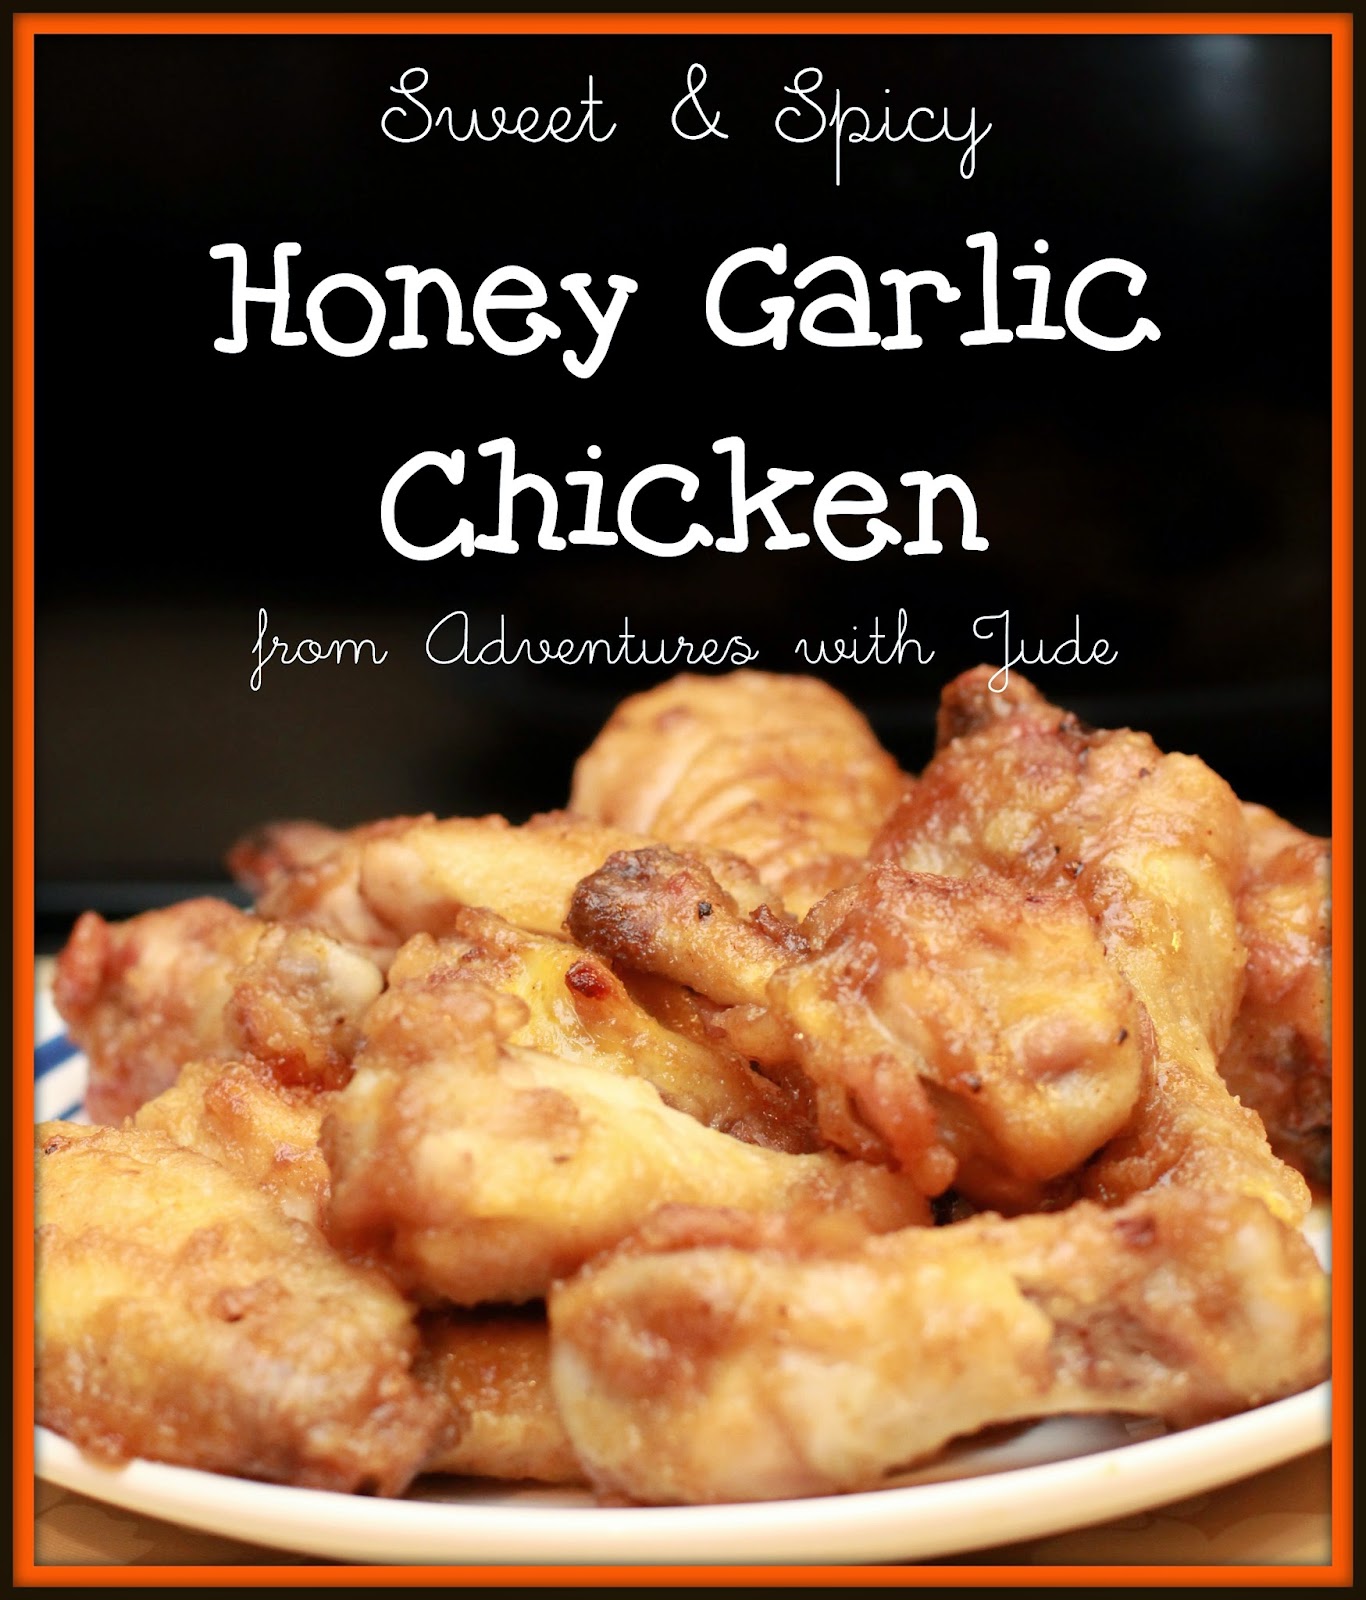
Sweet and Spicy Honey Garlic Chicken


sweet and spicy honey garlic chicken 

This recipe is easy to make, and is fantastic either as an appetizer or a main dish. It’s simple to cook the first time around, but easily is prepared in advance and reheated at the last minute for a relaxed game-day party! The light flour dusting in this recipe not only keeps the chicken’s juices from escaping and leaving your meat dry, but it also gives the glaze something to stick to. My only recommendation when you go to dine on this flavorful dish? Bring your appetite and a hot towel to wipe your hands.

Prep time: About 10 minutes
Cook time: approx 50 minutes to 1 hour


Chicken:
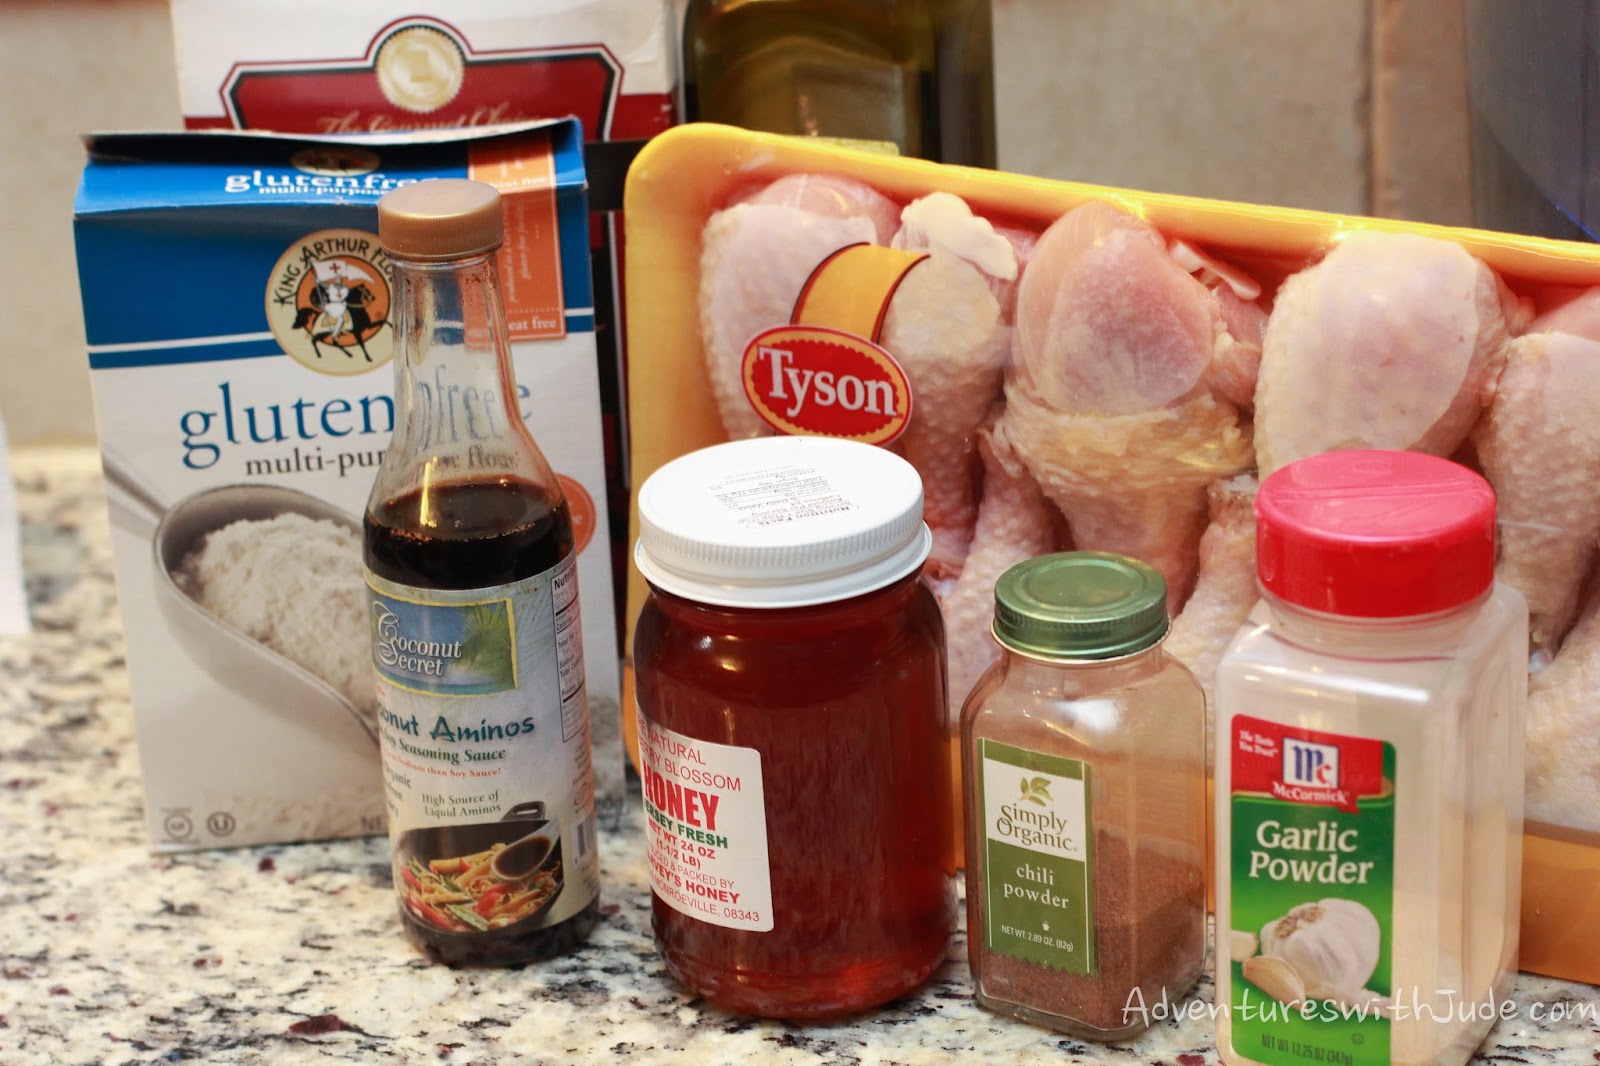
24 chicken wing pieces (12 whole, split into pieces)
12 chicken drumsticks
1 c. gluten-free flour blend
3 Tbsp olive oil

Glaze:
1 c. honey
¼ c. coconut aminos
4 Tbsp garlic powder
1 ½ tsp. powdered ginger
1 tsp chili powder
½ c water

Note: This makes a mild sauce - increase the chili powder or add a splash of Tabasco or Sriracha if you prefer it spicier.

Directions: 

1. Preheat oven to 400°F.

2. Line 2 baking trays with aluminum foil. If you’re using non-stick foil, keep going. If you’re using regular foil, take a second to coat with another teaspoon or so of oil.

If you have whole chicken wings, cut them into pieces at the joints. Discard the tips (or save in the fridge for making stock), and use the meatier upper pieces.


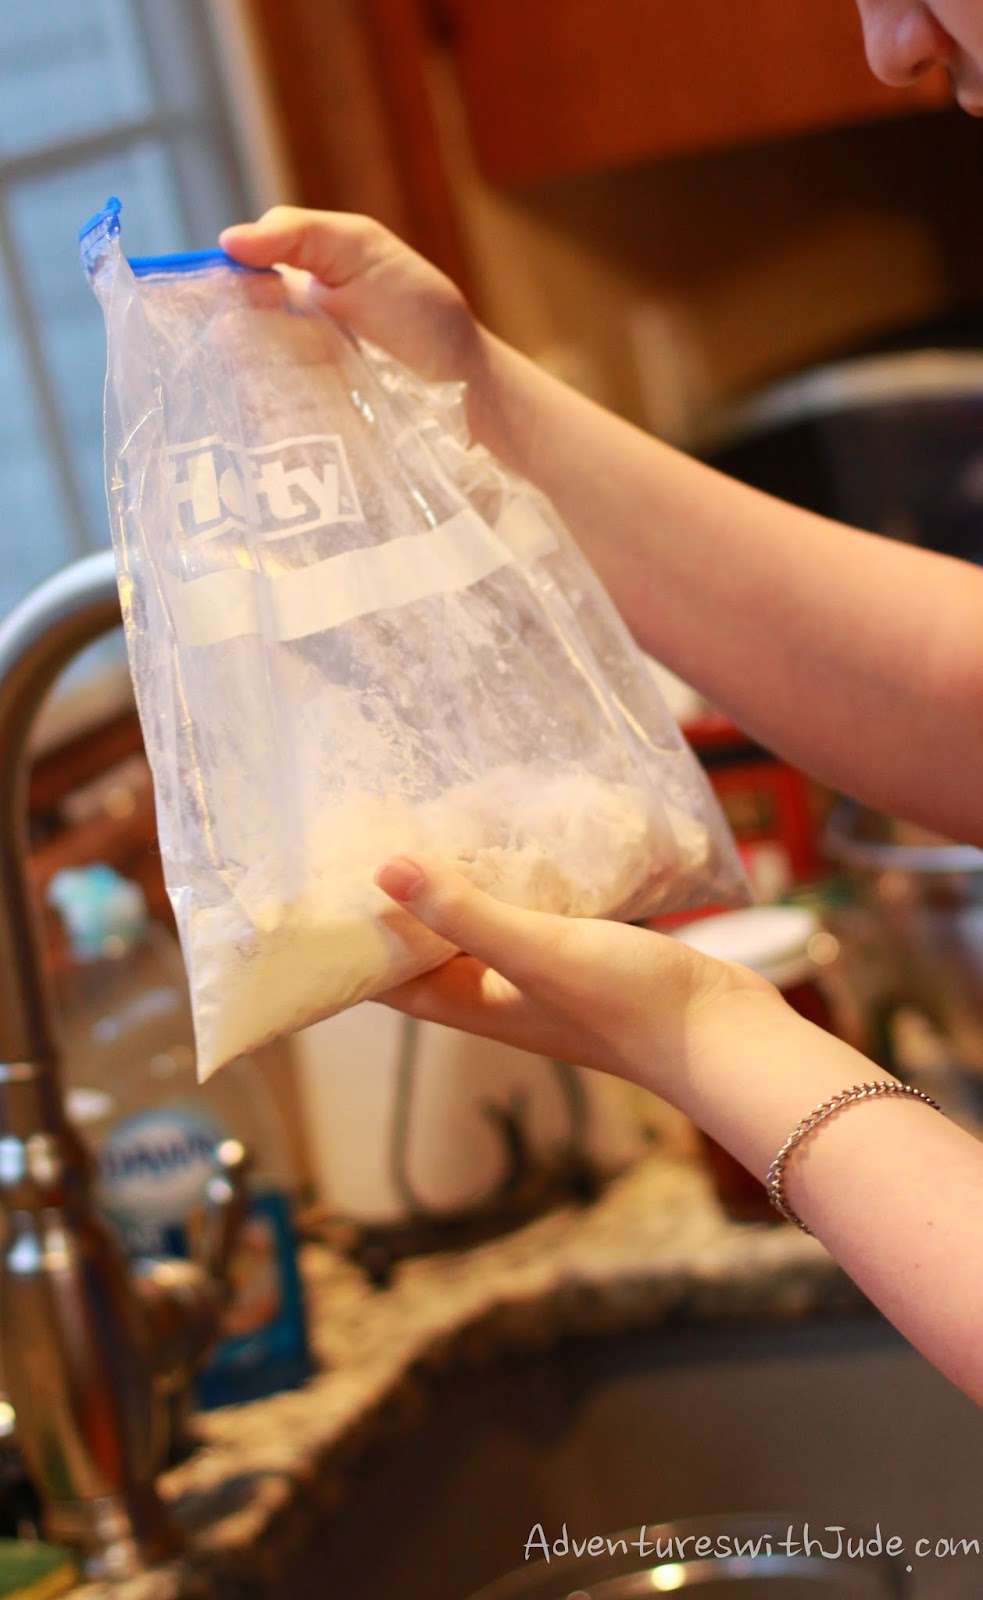
3. Lightly dust your chicken in the flour and shake off any loose flour. Place oil in the  bottom of a container, add chicken, and toss to coat.


4. Bake chicken for 20 minutes on each side (40 minutes total), flipping halfway through. 

5. While the chicken bakes, combine the glaze ingredients in a small saucepan. Bring the glaze to a boil. Then, lower the heat and allow the glaze to simmer for approx 5 minutes or until half the water has evaporated.

6. After 40 minutes in the oven, remove the chicken, toss it with the glaze, and return to the oven for another 5 minutes on each side (10 minutes total). Serve hot.

If you’re baking these in advance, remove them from the oven after the 40 minute mark, and cool on a baking sheet. When preparing to serve, toss the chicken in the prepared glaze and bake at 400°F for about 15 minutes until heated through and the glaze has set.

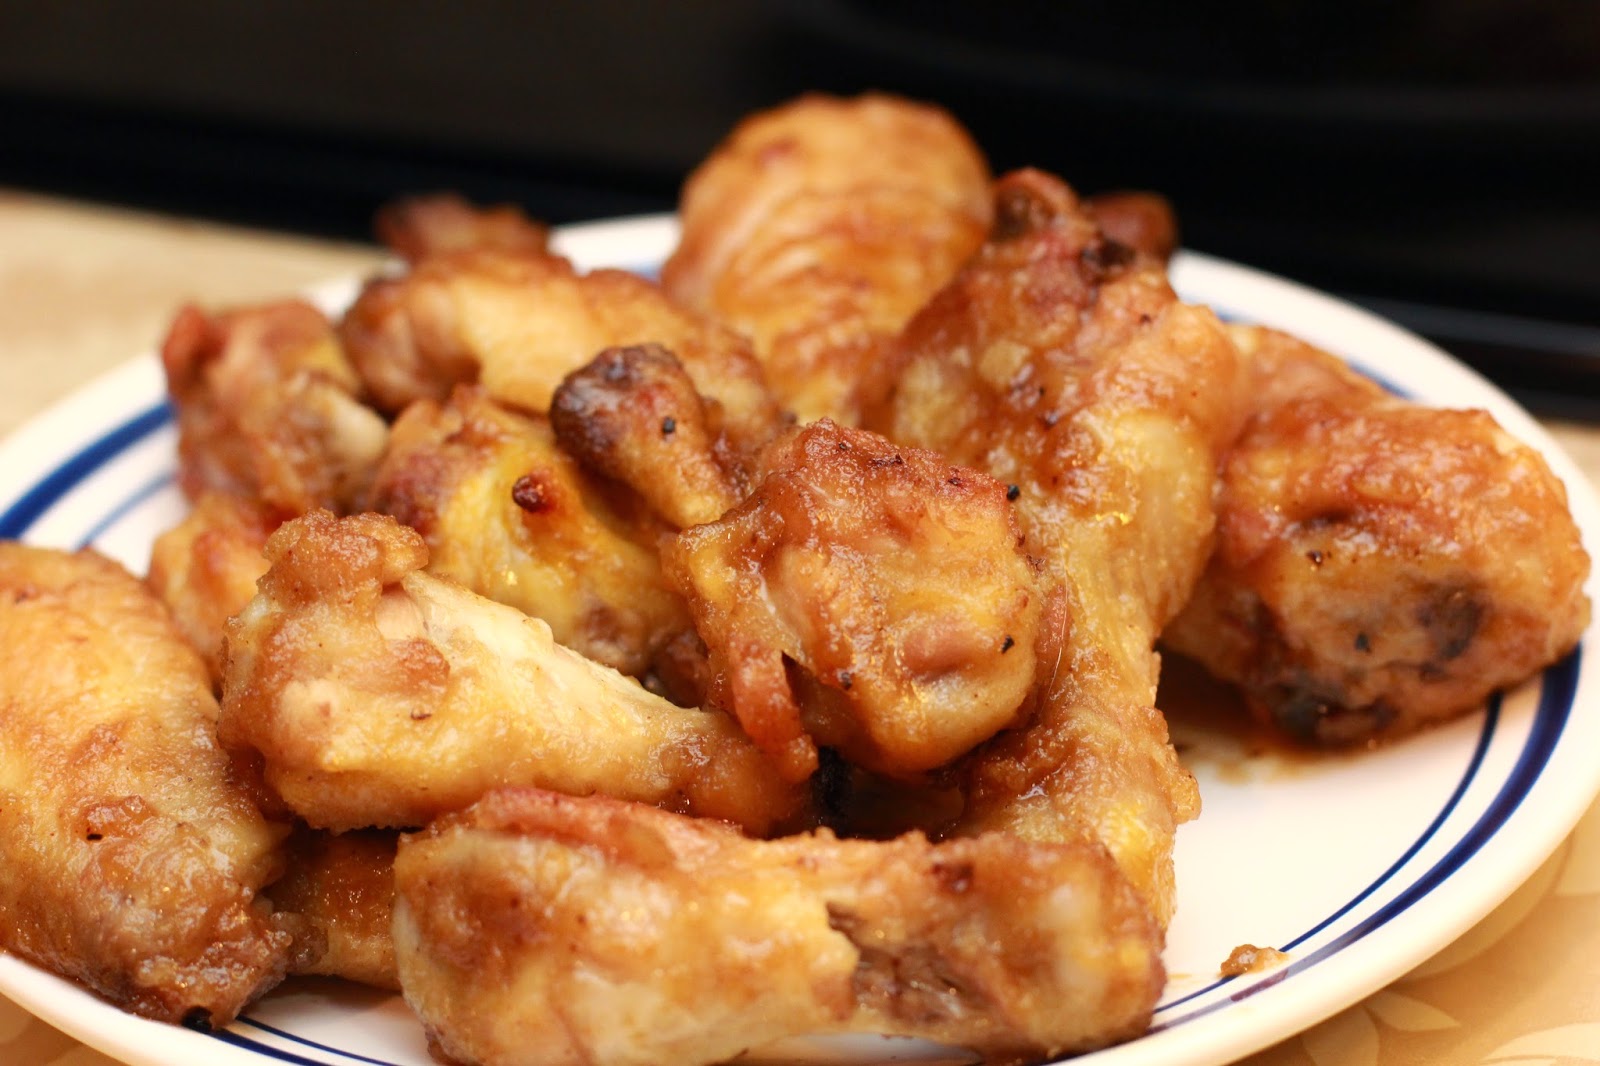
baked honey chicken wings


©2012- 2015 Adventures with Jude. All rights reserved. All text, photographs, artwork, and other content may not be reproduced or transmitted in any form without the written consent of the author. http://adventureswithjude.com

Wednesday, February 18, 2015

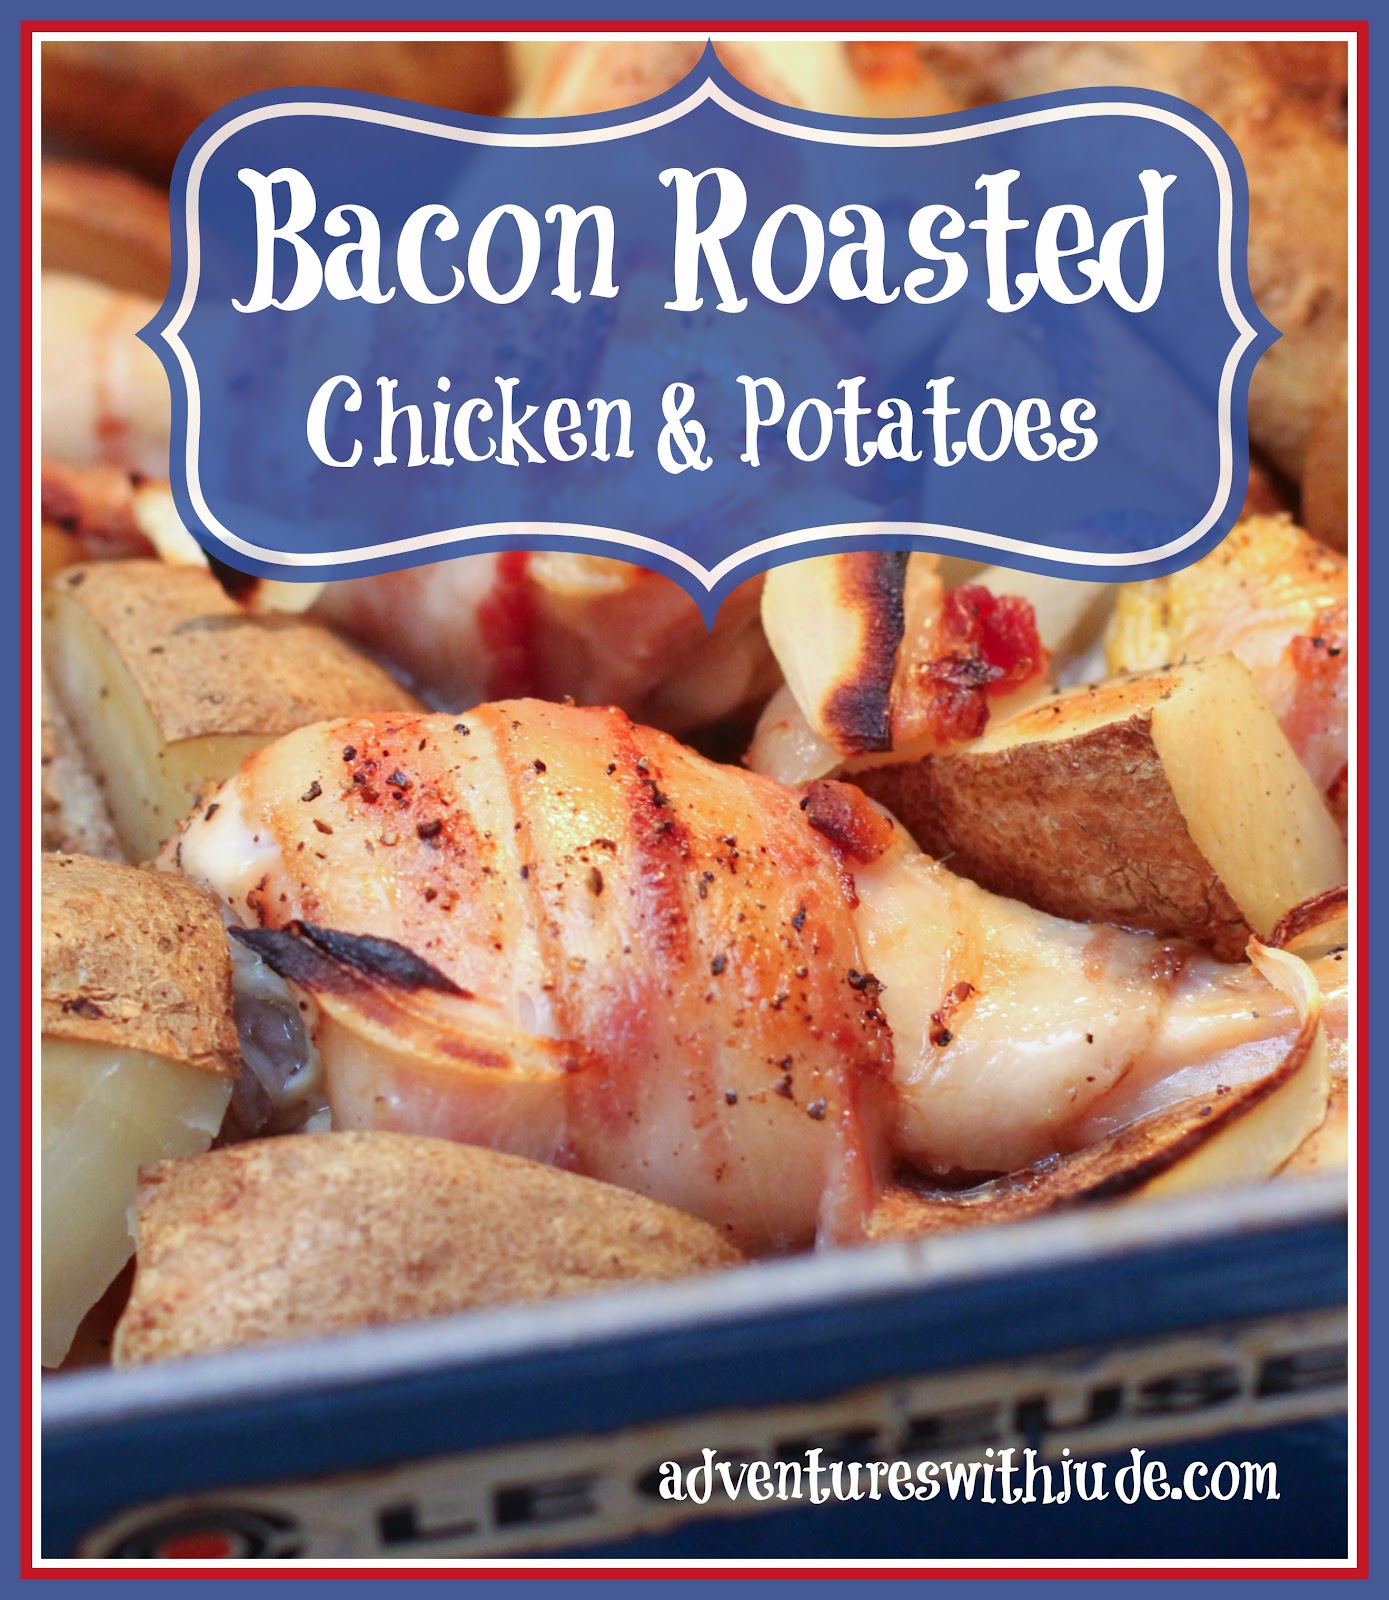
Bacon Roasted Chicken and Potatoes

Bacon Roasted Chicken and Potatoes

Bacon-wrapped anything? How can you go wrong? With this recipe, you can have a flavorful meal with minor effort. The only complex task is to julienne the onion, which really means “cut it in half longways, peel, and slice thinly.” Need a refresher on how to julienne an onion? Check out master chef Jacques Pepin’s tutorial. It only take an hour to bake, and with only one pan* to wash, minutes to clean up.

*Ok, we used two...but there are a lot of us.  If you have a smaller family, halve the recipe and you'll only need to use only one pan.

Prep time: About 20 minutes
Cook time: About 1 hour

Ingredients: 

12 chicken legs
1 lb bacon
3 lbs potatoes (about 6 large)
1 onion
black pepper

Instructions:

1. Preheat oven to 400 degrees Fahrenheit (200 degrees celsius)

2. Wrap each chicken leg in a slice of bacon, covering as much of the chicken as possible. Divide the wrapped chicken legs into 2 - 9x13 inch baking dishes, leaving space between the legs. Dice any leftover bacon strips.

3. Cut the potatoes into quarters (or eighths, if they are exceptionally large). Fill the space between/around the chicken with the potatoes.

4. Julienne the onion, and sprinkle it and the diced bacon over the chicken.

5. Bake for about 1 hour, or until the bacon is crisp and brown and the potatoes are tender. Serve hot.


Want to know what else is cooking?
Subscribe below to get new posts delivered directly to your inbox.

Enter your email address:


Delivered by FeedBurner


©2012- 2015 Adventures with Jude. All rights reserved. All text, photographs, artwork, and other content may not be reproduced or transmitted in any form without the written consent of the author. http://adventureswithjude.com

Monday, February 9, 2015

Taco Soup


Taco Soup

Sauté in French means “to jump” and can be a method of cooking or a way to describe a dish (such as “sautéed chicken”). The reason the French used the word “to jump” for this technique is because you are cooking food quickly at a very high heat, and moving the food around almost constantly with your spoon or spatula, so it looks like the food is “jumping” in the pan.

Proper sautéing starts with preheating your pan. While preheating is recommended for most cooking, when sautéing it is of utmost importance. One of the most common and crucial mistakes made when sauteing is not getting the pan hot enough. Most will take cold ingredients right out of the refrigerator, put them into a cold pan and stick it on the flame. What will happen is you will end up steaming your food in the juice it exudes, and it will be very dry. If you are sautéing onions (either for in a dish or as a topping), they will become rubbery; if you are sautéing meat it will be overcooked and rubbery.

This recipe calls for sautéed beef and vegetables. You will use the fat rendered from the meat to sauté it, and then a small amount of beef fat for the onions. These two ingredients cook very quickly over high heat.  The rest of the soup just needs to be heated through and it's ready to eat. With extra liquid and undrained tomato compared to a traditional chili, there’s lots of broth to soak up with tortilla chips. I call it Taco Soup, but Jude calls it a “Tortilla Spa Bath.”

Taco Soup 

 Ingredients:

3 pounds ground beef
2 medium onions
10 cloves garlic (roasted)
1 quart low sodium beef broth
1 15 oz jar salsa
2 28 oz cans roasted diced tomatoes
1 tsp coriander
2 tsp salt (divided)
1 tbsp cilantro
1 tsp coriander
1 tsp black pepper
1/2 tsp chipotle powder

For garnish: restaurant style corn chips

Instructions:

1. Preheat a large dutch oven or stockpot over high heat.

2. While your pan is preheating, prepare your onions and garlic. On a cutting board, peel and dice your onions, and mince your garlic. Put each in a small bowl to the side.

3. Once your pan is up to temperature, crumble your ground beef into pot.


The beef should start to sizzle, signaling that moisture within the beef is starting to evaporate. Stir frequently, and listen for the sizzling to cease.


4. When the sizzling stops, turn the burner off and drain the meat into a separate bowl with a slotted spoon. Pour off most of the grease, leaving about 3-4 Tbsp in the pan for the onions.

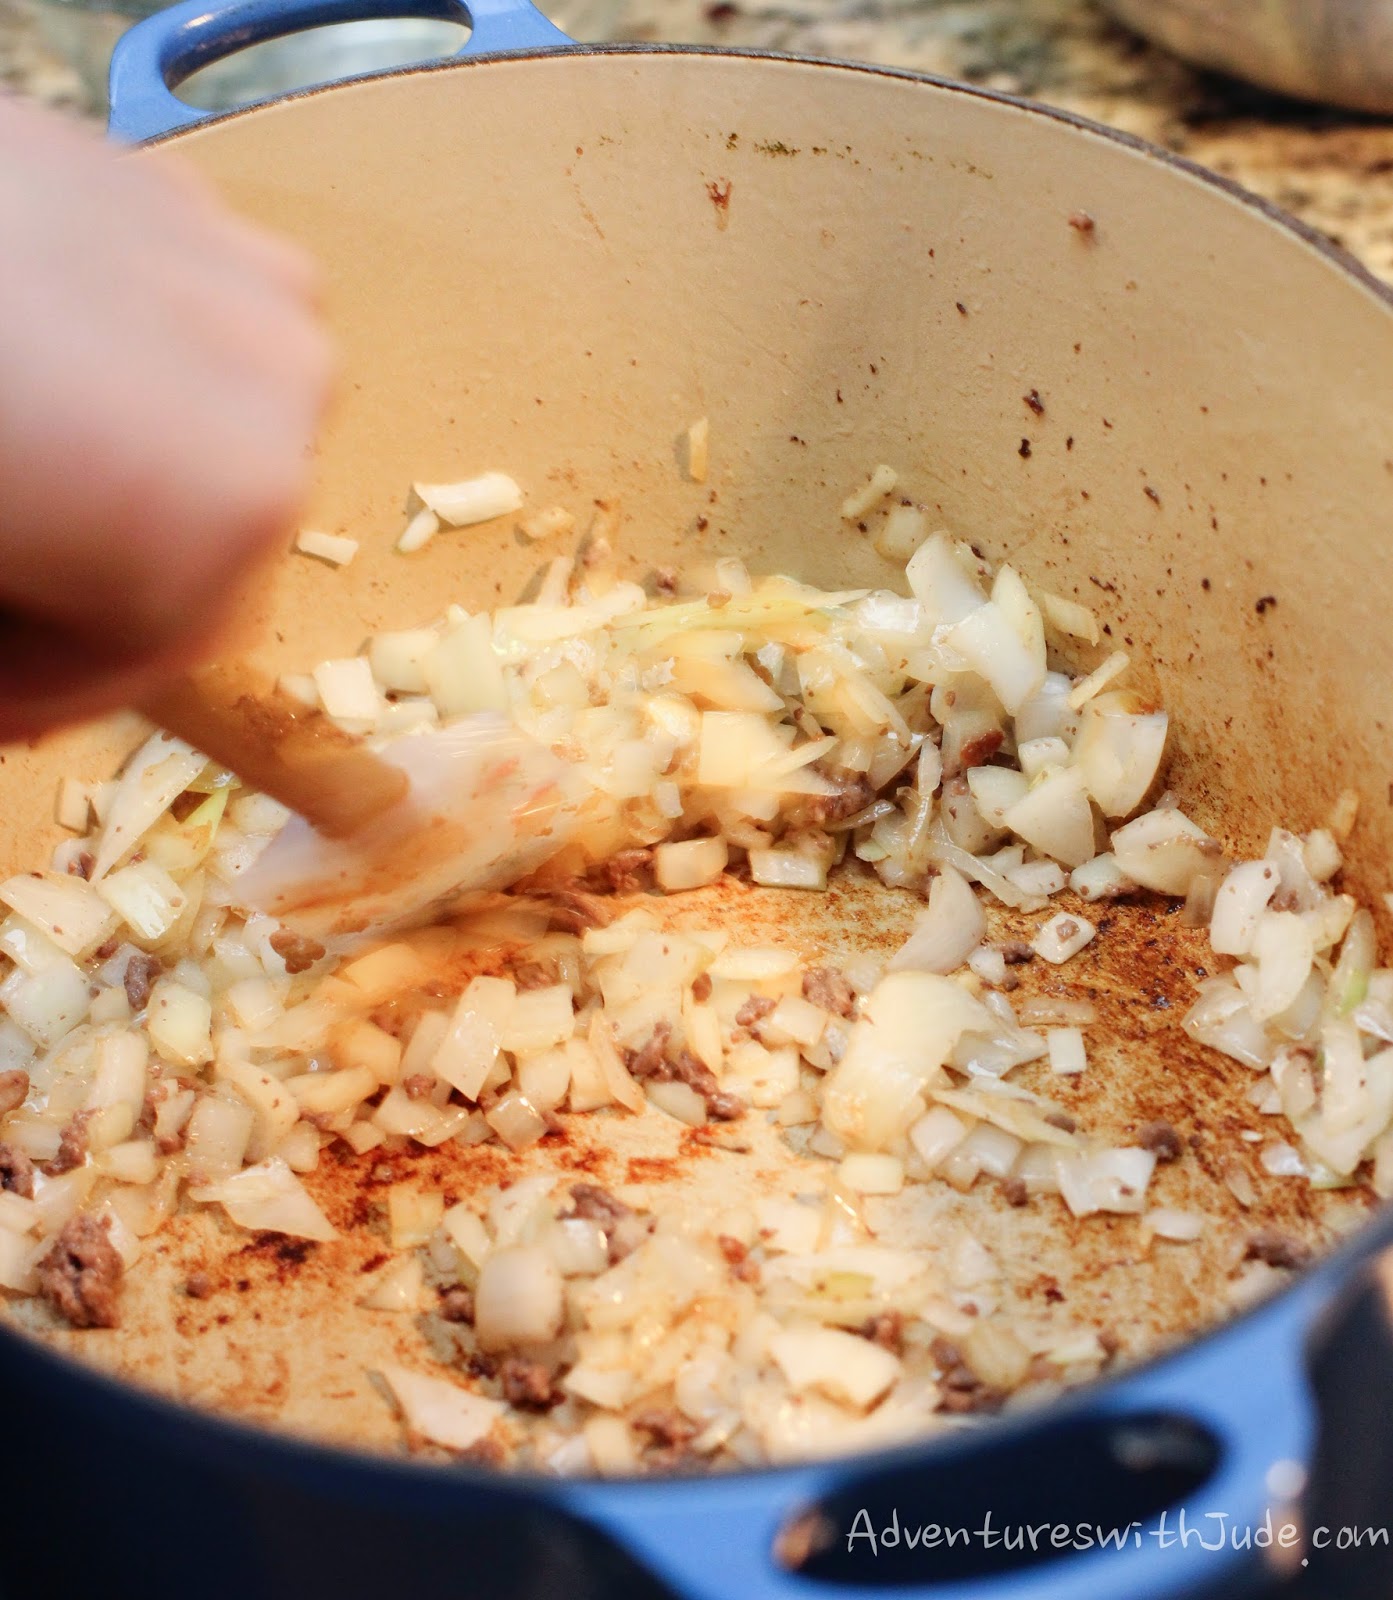
5. Turn the burner back on to medium, and add the onions to the pot. Sauté them in a similar fashion as the beef, stirring frequently and listening for the sizzling to cease. The onions will caramelize (turn brown) a little, but should turn to a translucent color. If they start to burn, turn the heat down a little until they are cooked through.

onion sauté

6. Once your onions have cooked, add the garlic, and saute for 1-2 minutes until the garlic is heated through.

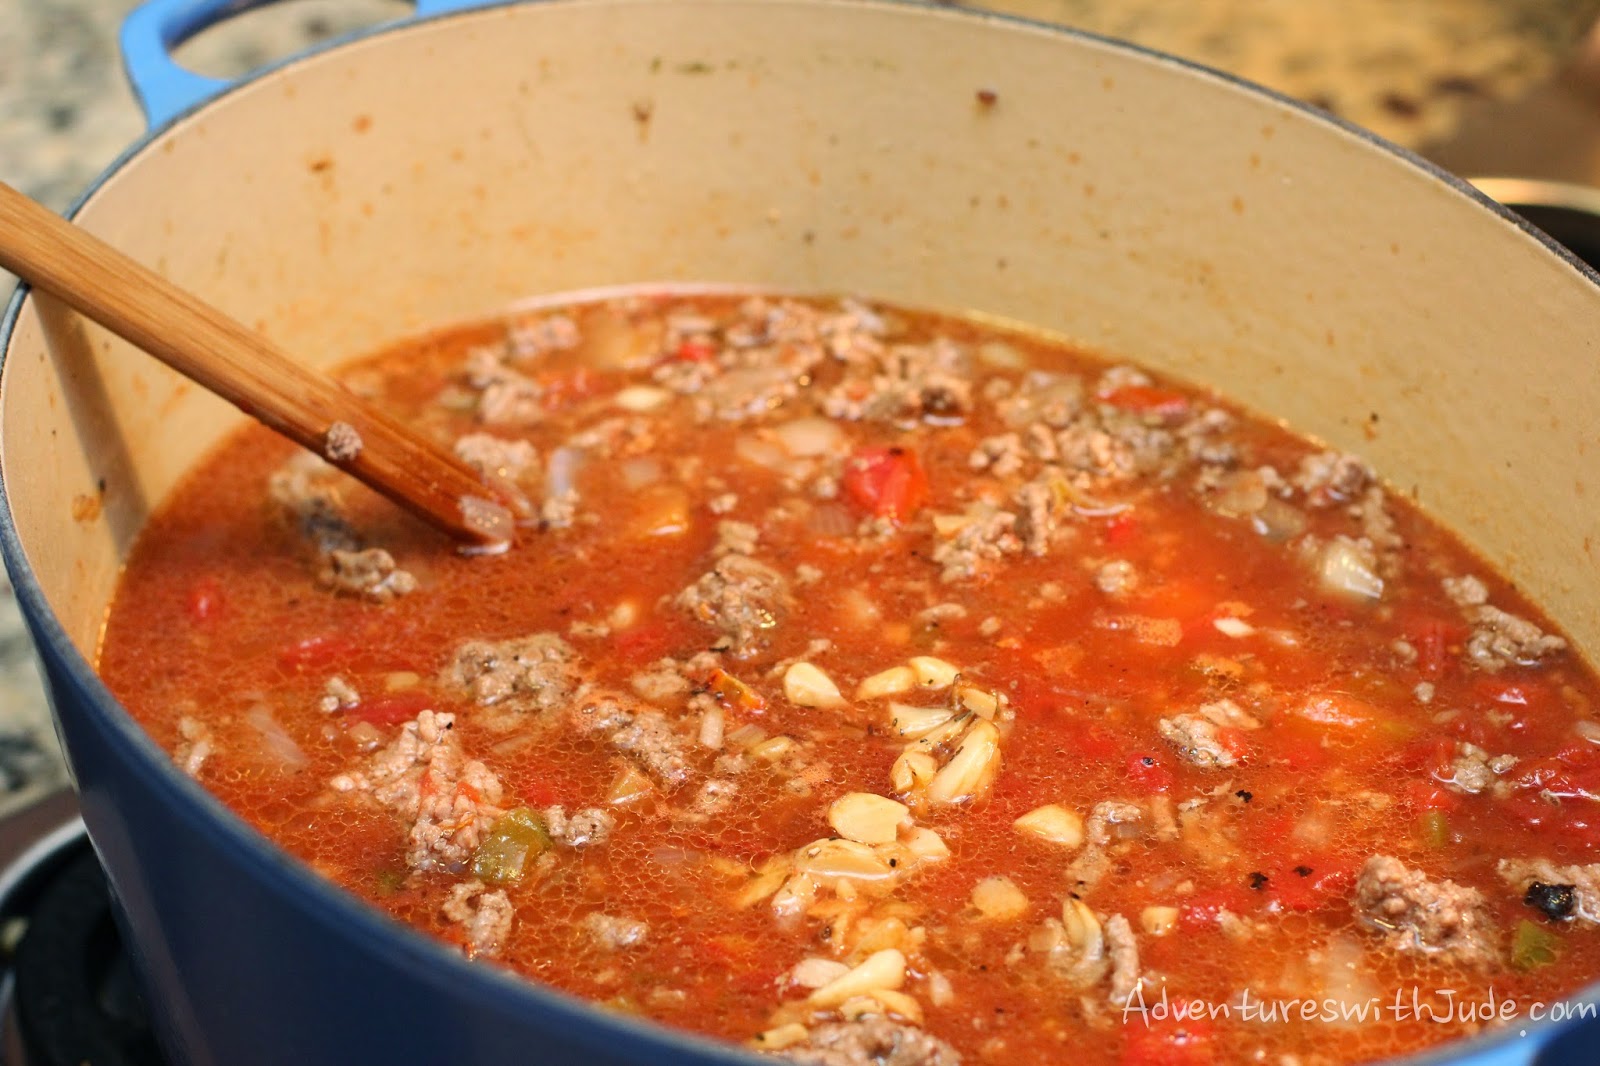
7. Deglaze your pot with about ¼ c of your broth, stirring to get the brown bits (called fond) dislodged from the bottom of the pan. Then add the rest of the broth, followed by the salsa, tomatoes, and spices. Stir to combine and add the meat back to the pot.

Speedy simmer half hour soup

8. Cook over medium heat and simmer for about 10-15 minutes. Serve with the corn chips.

serve taco soup with tortilla chips


©2012- 2015 Adventures with Jude. All rights reserved. All text, photographs, artwork, and other content may not be reproduced or transmitted in any form without the written consent of the author. http://adventureswithjude.com

Monday, September 22, 2014

Honey Cake: A Rosh Hashannah Tradition


By definition, a custom is a traditional and widely accepted way of behaving or doing something that is specific to a particular society, place, or time. Customs are handed down through generations, but the “why” of the custom sometimes becomes lost. “Tradition,” often becomes the answer. The truth is, the reason behind the tradition is more profound than we may realize. With the Jewish Holy Days of Rosh Hashanah and Yom Kippur coming up, I wanted to explore the traditions that my Jewish relatives observe. The custom is to dine on foods laden with honey, but why?

The simple explanation is that as Judaism spread from the Middle East, in order to fulfill the laws and customs, people adapted their recipes to use what foods could be found locally. The Ashkenazim lived throughout Central and Eastern Europe beginning in the Middle Ages. The “honey” of the Bible times is believed to be more of a date paste or syrup, but dates do not grow in cooler European climates. They adapted their recipes to what was available - bee’s honey, so apples are dipped in honey, and tzimmes and cakes are made with honey as the sweetener. However, the honey is not just used as a culinary substitute for date sugar; the sweetener holds a religious significance.

File:Liten askenasisk sjofar 5380.jpg
A Shofar, blown to announce
Rosh Hashannah
Image Courtesy Olve Utne
Rosh Hashanah is a two-day celebration and begins on the first day of Tishrei. The day is believed to be the anniversary of the creation of Adam and Eve, the first man and woman, and their first actions toward the realization of humanity's role in God's world. In addition to liturgical observances, the holiday is celebrated with meals shared by family and friends. The customary greeting is “L'shanah tovah tikatev v'taihatem" - "May you be inscribed and sealed for a good year." These meals include enjoy symbolic foods such as apples dipped in honey and tzimmes - fruit or vegetable tzimmes cooked in honey - to ensure a “sweet” year, and round cakes made with honey symbolize the continuity and circular nature of the year.

Yom Kippur, or the Day of Atonement, falls ten days after Rosh Hashannah. During the period of Days of Repenteance between the holidays, it is customary to ask for and receive "lekach", or sweet (honey) cake. The reason behind this custom is twofold. On Yom Kippur, the book of God’s Judgement is sealed. In order to be sealed favorably, one must have atoned for his sins against Him, but in order to be prepared to do so, one must atone for his sins against others first. In asking for cake, you are humbling yourself and begging a kindness of the person you have wronged; in giving the cake, you are granting forgiveness. Simply asking is not enough; you must also give when asked and show you will not hold others’ wrongs against them. Secondly, it reinforces that all things come from God -- the cake is given by a human, but the resources to make it are a gift from God. In having the cake to give as a gift of forgiveness, the giver and receiver rejoice in the blessing from God.

There are as many recipes for lekach as there are families.  This is one we found and adapted.  We'll eat ours at snacktime, while we read two books Mom bought for Jude and Damien:  The Hardest Word: A Yom Kippur Story by Katherine Janus Kahn and New Year at the Pier: A Rosh Hashannah Story by April Halprin Wayland.


L'shana tovah titatev v'tahatem, friend! 

Lemon-Honey Cupcakes


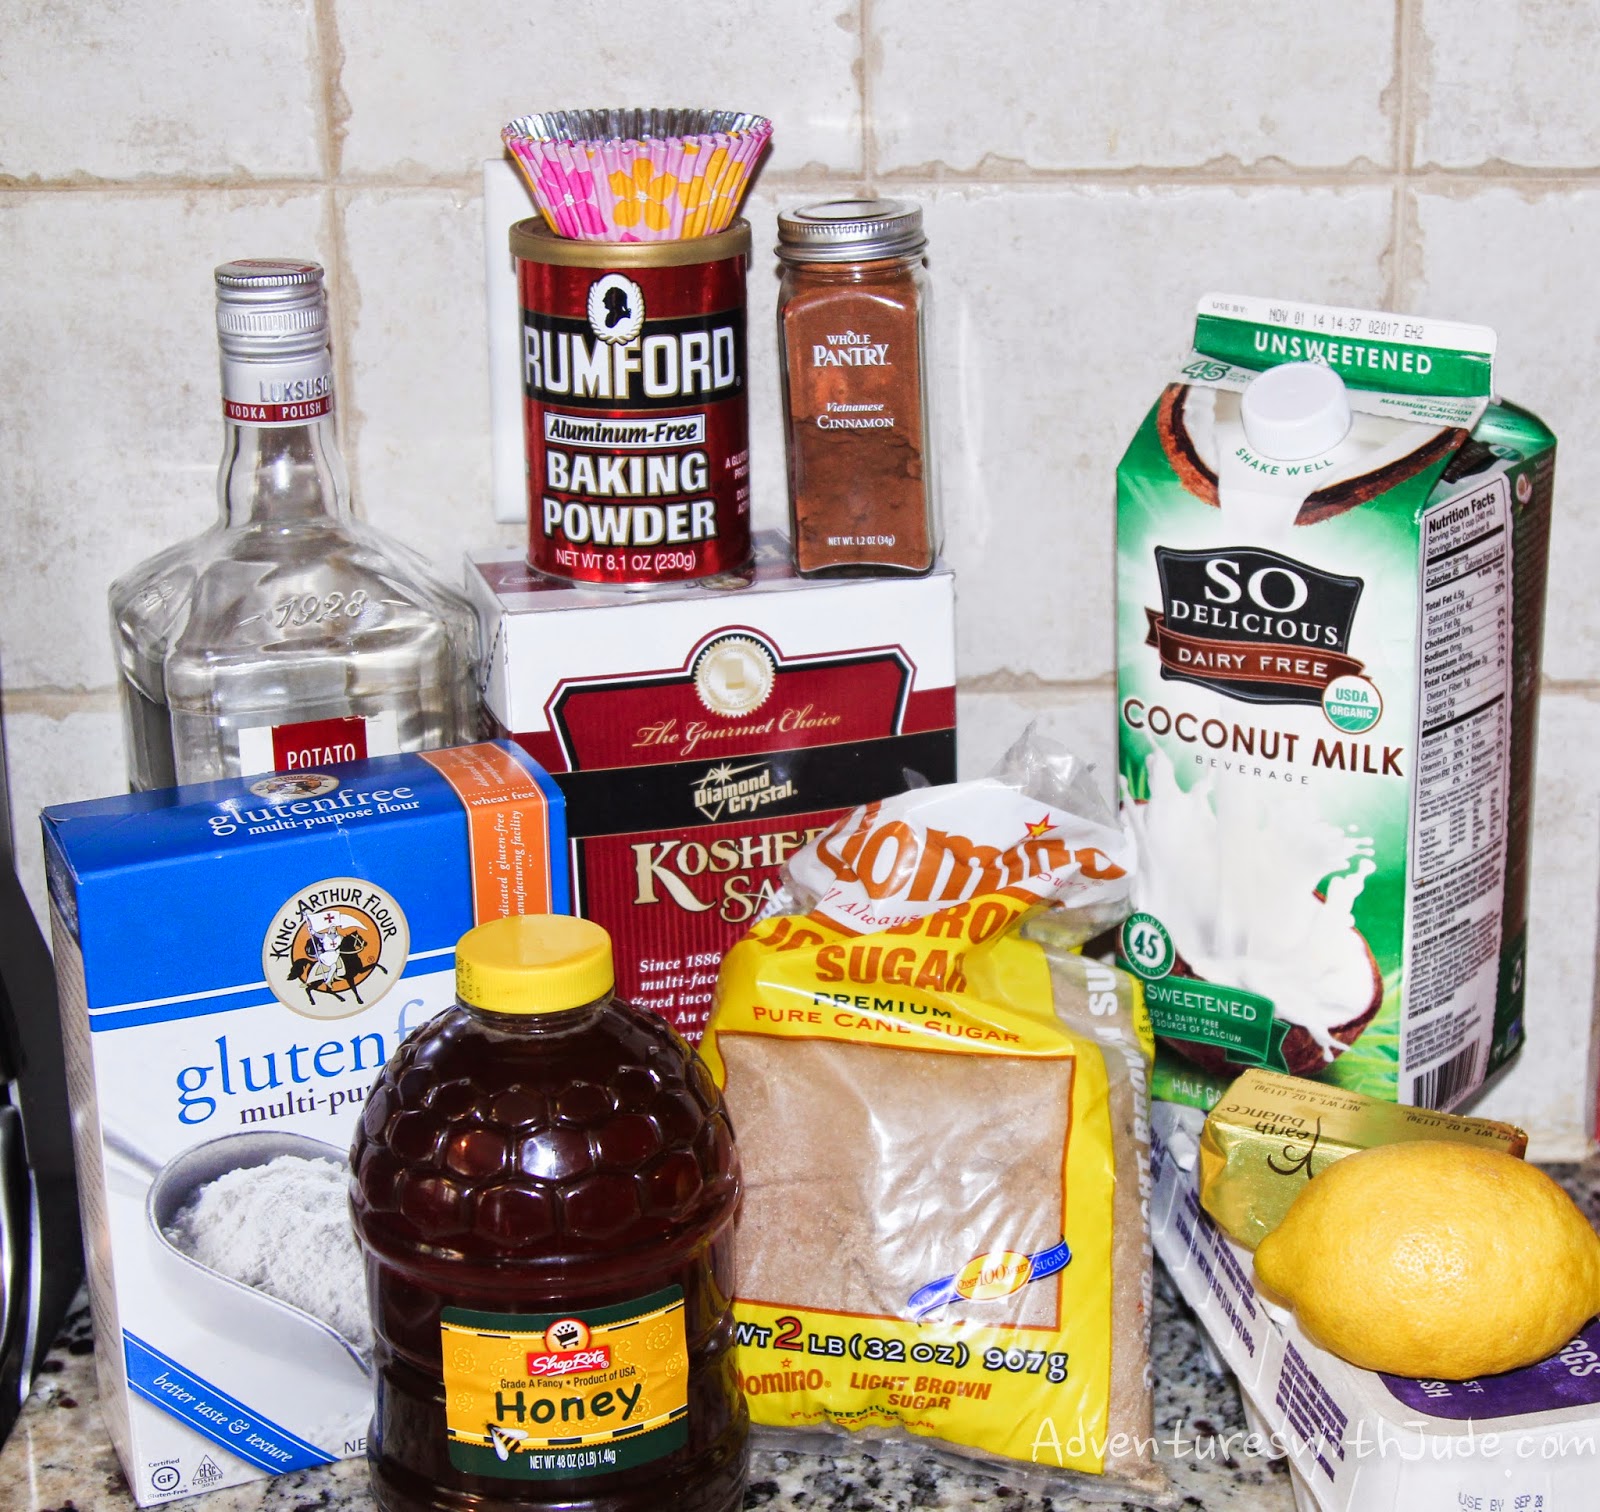
 Note: Ingredients with brand names are what we use because these companies are currently safe for our allergies.  Please double check they are safe for you, too.

Ingredients:


1 1/2 cups King Arthur Gluten Free Flour mix
1 tsp xanthan gum
1 teaspoon baking powder
1/4 teaspoon salt
1 teaspoon cinnamon
1/2 cup (1 stick) Earth Balance margarine
2/3 cup light brown sugar
2 eggs
1 teaspoon vanilla extract
Finely grated zest of one lemon (reserve 1/2 tsp if making the Lemon-Honey Buttercream)
1/3 cup honey
1/3 cup SoDelicious unsweetened coconut milk

Directions: 

Preheat oven to 350. Line a cupcake pan with paper liners. Set aside.

In a small bowl, whisk together the flour, xanthan gum, baking powder, salt and cinnamon.


In the bowl of an electric mixer, cream together the margarine and brown sugar until smooth.

Pare the zest from the lemon.  Chop finely if it comes off the lemon in longer strips.  Add to the mixer bowl.

Add the eggs and vanilla extract and beat until smooth.


Mix in the honey.

Hint:  Use the wrapper from the margarine to grease the measuring cup and the honey will not stick.


 Turn the mixer down to LOW SPEED and slowly stir in the flour mixture.

Add the milk and stir until all of the liquid has been absorbed.

Divide the batter evenly among the 12 cupcake liners. Bake at 350 for 18-20 minutes.


Note: Check them for doneness with a wooden pick.  If you're using wheat flour, check them at about 15 minutes.  (Gluten Free baking sometimes takes a few extra minutes.)

Remove from oven and cool completely.


Lemon Honey Buttercream Frosting


Note: for this one, I'm including the weight measurements.  We weighed out the ingredients because all of our spoons were already in the dishwasher from the cake.

3/4 c Spectrum Shortening (180g)
5Tbsp Honey (75g)
1/2tsp Lemon Zest
1/2 tsp Vanilla
1/4tsp Salt
3 c powdered sugar (360 g)
juice of one lemon

Place all of the ingredients EXCEPT the lemon juice in a mixer bowl.  Mix together on low speed until combined, then increase the speed and beat until light and fluffy.

Add juice, one teaspoon at a time (we just used an iced tea spoon) until the frosting is the consistency you like.

Try not to eat it all while you wait for the cupcakes to cool!

Frost cupcakes.  If you have leftovers, store loosely covered.


Special thanks to our friend Sara for all of her help with research on the tradition of the lekach,  and the blogs  Overtime and To Serve, With Love for inspiration.


©2012- 2014 Adventures with Jude. All rights reserved. All text, photographs, artwork, and other content may not be reproduced or transmitted in any form without the written consent of the author. http://adventureswithjude.com

Friday, June 20, 2014

H is for Hotel Picnic

H is for Hotel Picnic: Eating on Vacation


Normally, when we come home from Disney World, we attempt to drive straight home, get hung up in traffic, and by mid-Georgia are trying to figure what's a realistic stopping point for the night.  Several times we have made hotel reservations via the Marriott hotel app; one time I actually had to text my dad to make reservations for us because we got stuck in an area that didn't have a strong enough internet or phone signal to do it ourselves.  This spring, we decided to just make a reservation ahead of time.  Normally, we choose suite hotels that have at least a mini-kitchen; with seven people in our party, we need two bedrooms.  The hotel we preferred to stay at did not have any suites, and comparing other local hotels,  it was cheaper to just stay there and get two hotel rooms.  We figured we'd eat dinner on the road before stopping.

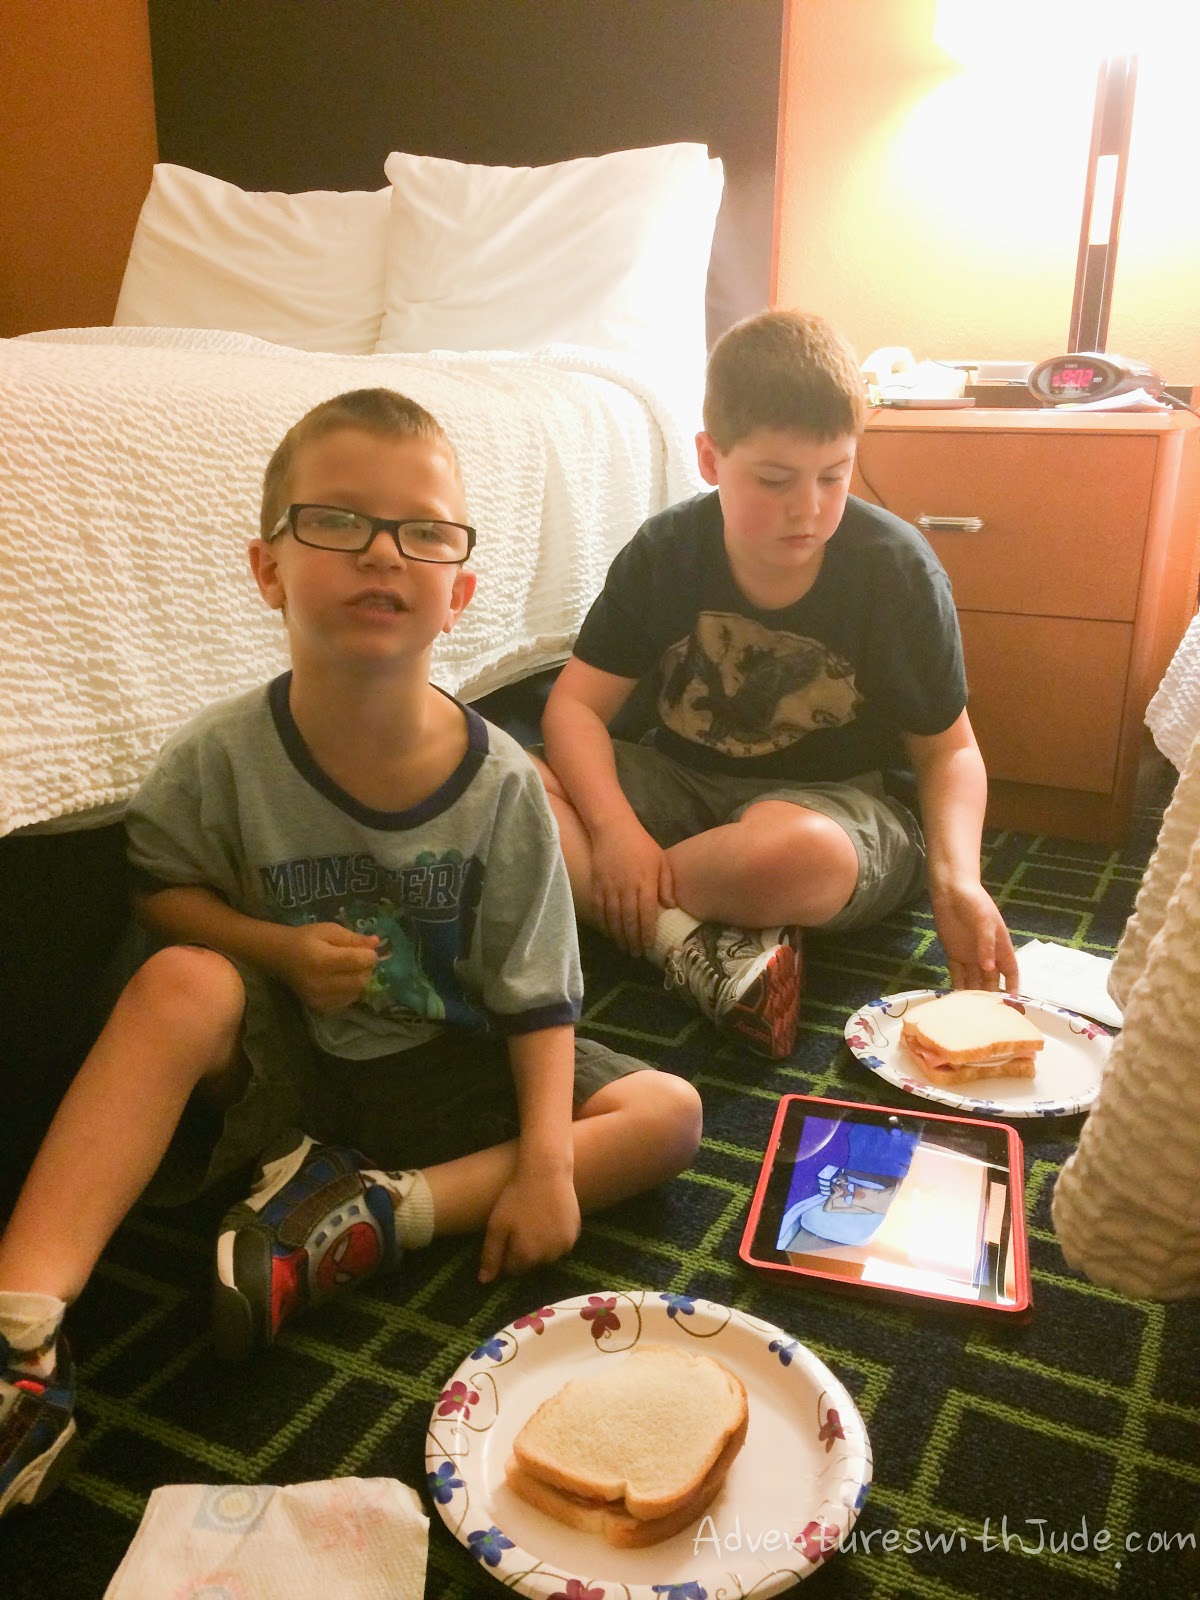
Our timing was off much of the day, and by the time we pulled into the hotel, nobody felt like hunting out a restaurant.  I had packed a cooler with leftover food from vacation, so I figured we could cobble together some sandwiches with fruit and call it good enough; Neal offered to go across the road to a gas station and grab a few drinks and bags of chips to round things out. When we got settled into our room, I realized we had a microwave.  Jackpot!  Not only were we able to make basic cold sandwiches, but I had a leftover pound of bacon that we cooked up plus a hot dog for Jude.  Squished into one room to eat, people spread out on every flat surface -- most of us were on the floor to try to keep the beds clean.  Jude declared our dinner a "Hotel Picnic."

Hotel Picnic


This summer, the kids and I are going on a five-day mini-Civil War battlefield tour. (Neal's business is in season and he can't be gone that long in July.)   We're planning on going to Harper's Ferry in West Virgina, and then up through Antietam (Sharpsburg, MD) to Gettysburg (PA).  Because I want to limit the expenses and we only have one official grown-up plus one "big-enough" person to herd smaller people,  Luke was charged with planning picnic meals for the week.  Although I opted for suite hotels to keep everyone together, the ones that were most convenient and reasonably priced do not have kitchens - just a mini-fridge and microwave in each. His job was to plan reasonably balanced lunches and dinners that could be stored & prepared with only those two appliances. (Our hotels include breakfast, though we will take a box of cereal in case somebody wakes up picky or there isn't enough safe-for-our-allergies food.) I told him that while we could pick up some more snacks or pass a farm stand for more fruit, or I would prefer not to have to go grocery shopping mid-week for the rest of dinner.

Luke's plans:


Picnic Lunch Ideas Sandwiches are going to be the mainstay of our lunches out. They’re simple to prepare, easily portable, and the fixings won’t take up a lot of room in the fridge. We’ll bring a few kinds of fillings - meats, cheeses, Sunbutter and fluff - to keep from being bored. Before we leave the house for the trip, we will freeze most of the juice boxes. They’ll work as ice packs in the cooler, and then will defrost over time to be used later in the week. Plus, once we drink the juice boxes, we can dispose of the containers, and not have to drag ice packs home. Some potato chips, fruit, and cookies or something else sweet will round out those meals. I thought about yogurts, main-dish salads, and other similar ideas, but they either take up a lot of space in a lunchbox, need utensils, or are more elaborate to prepare. Packing for six people means space is limited, and streamlined is best. Plus, it will make packing easier in the morning - it won’t be so crucial to remember to pack forks or spoons. If we were leaving from home, or someplace with a full kitchen, we would be able to consider some of the fancier options, but they won't work for this trip because of our limited kitchen resources.

With lots of activity planned for each day, we’re going to have simple, heat-and-eat dinners. This way, we can come back to the hotel and get everyone fed quickly. Instead of having to cook things while we’re there, we’ll mostly rely on previously cooked foods and reheat them in the microwave. I’m planning on cooking ground beef before we go, and using it for two meals - nachos on one night (we’ll pack tortilla chips, cheese, and salsa) and for pasta (pre-cooked pasta can be reheated with tomato sauce and meat). One of our favorite “hot lunches” at home is chicken nuggets, so one night we’ll microwave them and some veggies. We’ll even have breakfast for dinner while we’re away - pre-made pancakes, fruit, and freshly made bacon. (The bacon takes up less space uncooked, and can easily be cooked in the microwave.)

We’re hoping to be heading out on our day trips by about 9 am, and do not expect to be back to the room until dinnertime. However, planning just lunch isn’t going to keep tummies full all day, and everyone is used to having a snack before bed. While we need to plan enough food for meals, we’re also going to need some snacks. We are planning on bringing extra of some of the meal items (fruit, chips, desserts, etc.) to have for between meals while we’re out, and then other small items such as yogurt and gelatin cups for in the hotel.

There is also other non-food supplies we will need to pack. We will also need paper products, as well as something to put our trash in both on the road and at the hotel. On our “picnic bag” list are:
-Paper towels
-Napkins
-Paper plates
-Plastic silverware
-Plastic cups
-Zip-top Bags
-Trash bags
-Lunch boxes/picnic cooler to carry food & snacks for the day
-A tablecloth/picnic blanket for if we eat outside

At home, we mainly use plastic containers to store spare food or leftovers. However, we are planning on mostly using zip-top bags for the trip (the brownies will be crumbs otherwise). Because they conform to the shape of the food, it will help fit more in the cooler, so we can pare down how much luggage we are cramming into the car. After we use the bag, it could be rinsed out and reused, or just discarded if it’s really messy. Plastic containers take up a static amount of room, no matter how full they are, and we could wind up with a lot of empty space inside a container. The other major benefits to bags here is they are disposable; we can use sandwich bags as individual trash bags after we eat lunch, plus won’t have to keep track of container pieces until we get home. 

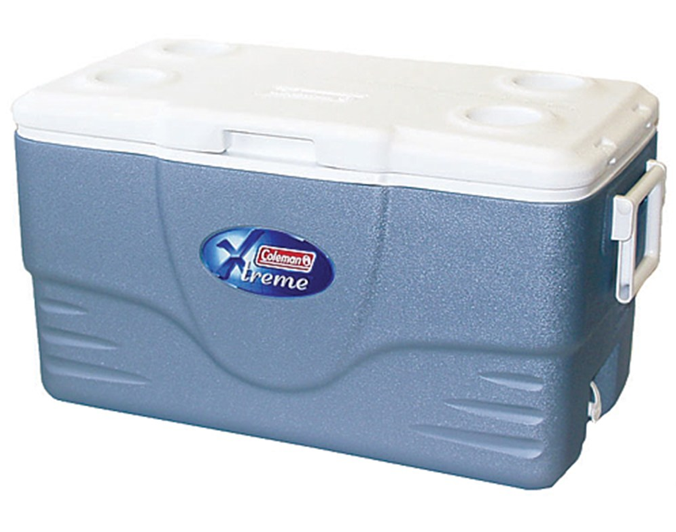
Coleman 36 Quart Xtreme 5 Cooler
Coleman cooler similar to ours
Image: Coleman.com
A mini fridge probably won’t fit all the food we need for the week. We’ll put the stuff we want frequent access to in there, and keep the “for later in the week” food in our main cooler. This way, we’ll be able to keep the cooler cold and preserve the food that is in there. As food is eaten, we can fill the empty space in the cooler with bottles of juice or other items to help fill the empty space. The new items will help fill the cooler and keep things cold longer (too much empty space does not help insulate), and when we switch hotels we will have less to carry in and out.

A “hotel picnic” is an easy way to provide less-stress meals for your family while on vacation. Simple lunches and snacks will keep people filled up during the day, and with a little planning and cooking ahead, even spartan kitchen facilities can produce a hot and filling dinner. Zip-top bags help keep packing tight. Disposable tableware, while a bit more expensive than bringing regular plates and cutlery, is a worthwhile expense that makes packing easier. Don't forget larger trash bags; in the day you will be able to picnic and "leave no trace" while back in the room you won't have teeny trash cans overflowing. Bringing food allows us to save a few dollars, eat healthier meals, and will lead to less herding children in and out of busy, tourist-filled restaurants.

Homeschooling Home Ec: Real Men Make Quiche http://benandme.com/2014/06/h-honor-word-study.html   Photobucket

©2012- 2014 Adventures with Jude. All rights reserved. All text, photographs, artwork, and other content may not be reproduced or transmitted in any form without the written consent of the author. http://adventureswithjude.com

Thursday, June 5, 2014

Gluten and Dairy Free Fried Chicken, Pioneer Style

Pioneer Fried Chicken Dairy and Gluten Free

There is a major difference between pioneer and modern pantries. In the growing western United States, other than a general mercantile that carried bulk staples, grocery stores did not exist. Often, people lived far from town - or even their neighbors - which meant households needed to be nearly self-sufficient. Often families would trade excess crops -- one family would grow and put up extra berries to exchange with a neighbor who had apple trees and excess crop. When you went into town for supplies, it could be two or three hours (or more) each way, so you’d keep a running list and stock up. If you lived where winters were particularly brutal, you might even stock up for the entire winter by October!

Many of the pioneers’ cooking supplies are still staples in today’s kitchen:  dairy and eggs, produce, and meat.  One major difference is the dairy and eggs did not come from the store -- they were provided by the milk cows and chickens you raised.  Fresh produce was eaten in season, and preserved in glass jars for eating during the winter. Root cellars held these precious jars, as well as hardy vegetables like potatoes, carrots, and onions. Meat was eaten both fresh and preserved. A fresh roast was eaten when the stock was killed, and then the extra was smoked, salted, pickled, and canned meats also lined the root cellar shelves. Some people raised livestock for food - often pigs and chickens. (Just make sure you catch the ornery old hen when Mama sends you out to butcher a chicken for dinner, and not one of her good layers!) Everything was used or put up for later use in some way or another. “Waste not, want not,” was the pioneer mindset. Some of these “use it up” recipes remain popular; Pennsylvania Dutch scrapple is a staple in southeast Pennsylvania and South Jersey diners. A family made everything stretch, because they could not afford to waste much. On a wagon train, where your supplies are even more limited, you could afford no waste at all.

Gary Halvorson, Oregon State Archives, via Wikipedia Commons
Gary Halvorson, Oregon State Archives,
via Wikimedia Commons
In order to join a wagon train heading west, you had to pack foodstuffs using a very precise list that the company provided, so that a family did not endanger others by asking to share food when they ran short. The only food you had was what you brought with you, and whatever you were fortunate to find. If you were leaving from the east coast, there were a few trading posts along the early trail, but once you crossed the Mississippi, they were even rarer. It took a long time for enough brave souls heading west to establish farms and merchantiles to aid the others who would follow. Often, you were literally living off the land, hunting game and scavenging wild fruits to extend your stores. It would take 19 weeks of constant progress to cross the continent, but journeys really averaged six or seven months. The extra time was spent holding still because of storms, wagon repairs, and funerals and births. (On average, ten percent of a group died along the way, and one out of every five women in a wagon train was pregnant.) If you ran out of food, you were in trouble.

A common pioneer recipe I tried is fried chicken. Chickens were common on almost every farm; hens provided a steady supply of eggs and the addition of a rooster or two to the coop provided a steady supply of chicks. This was a popular meal because it did not require many ingredients, and could be prepared in small or large batches. It also was good hot or cold, making it perfect for a farm wife to take to her husband working in the fields, or a chuck wagon master to serve to cowhands eating in shifts.

I prepared our dinner a little differently, using a brine to help flavor the chicken and allergy-friendly ingredients. Where we did not change the recipe was our cooking fat or pan. Vegetable oil wasn’t invented at this time -- for cooking, your options were lard (rendered from butchered hogs), tallow (from cows), and butter. Butter burns well below 300°F, so lard was used for frying. There are many medical opinions these days about lard and vegetable shortening, but lard works, so I’m going with it. I also used a cast iron frying pan - a kitchen staple for centuries that no self-respecting pioneer would cook without.

A brine is a salt and water solution with flavorings added. The meat is placed in it and the solution is carried into the meat via osmosis, adding juiciness and flavor. If you aren’t heading into the yard to dispatch your chicken and are instead hunting through your freezer, you don’t even have to defrost the chicken before brining. The salt water will help it defrost quickly. Place it in the brine frozen, and keep checking it. Once the meat is fully defrosted, start the clock on the brining process.

Gluten and Dairy Free Fried ChickenGluten & Dairy Free Pioneer Fried Chicken

3 lbs chicken parts (drumsticks, thighs, or breasts)

Brine
2 c salt
1 c honey
1 gal water
8 cups (two pounds) ice

Coating
2 eggs
2 c So Delicious coconut milk


2 c. King Arthur Gluten Free All Purpose Flour Mix
1 Tbsp garlic powder
1 Tbsp chili powder
1 Tbsp black pepper

1 ½ cups lard

1. In a large stockpot, combine salt, honey, and water. You can either heat them together until the salt is dissolved, or use hot tap water.

2. Add ice to cool down the solution

Chicken Honey Brine

3. Submerge chicken in the brine, and refrigerate for at least two hours. This is important because the chicken and the solution need time to achieve equilibrium. The longer it brines, the more flavor will be absorbed, but do not brine for more than 12 hours, or the chicken will be mushy.

Chicken Honey Brine

4. Remove chicken from brine. Pat dry with paper towels.

5. In a wide, shallow container, mix flour and spices together. Dredge chicken lightly in flour, and place on a rack to set flour.

Fried Chicken Gluten Free Flour Coating


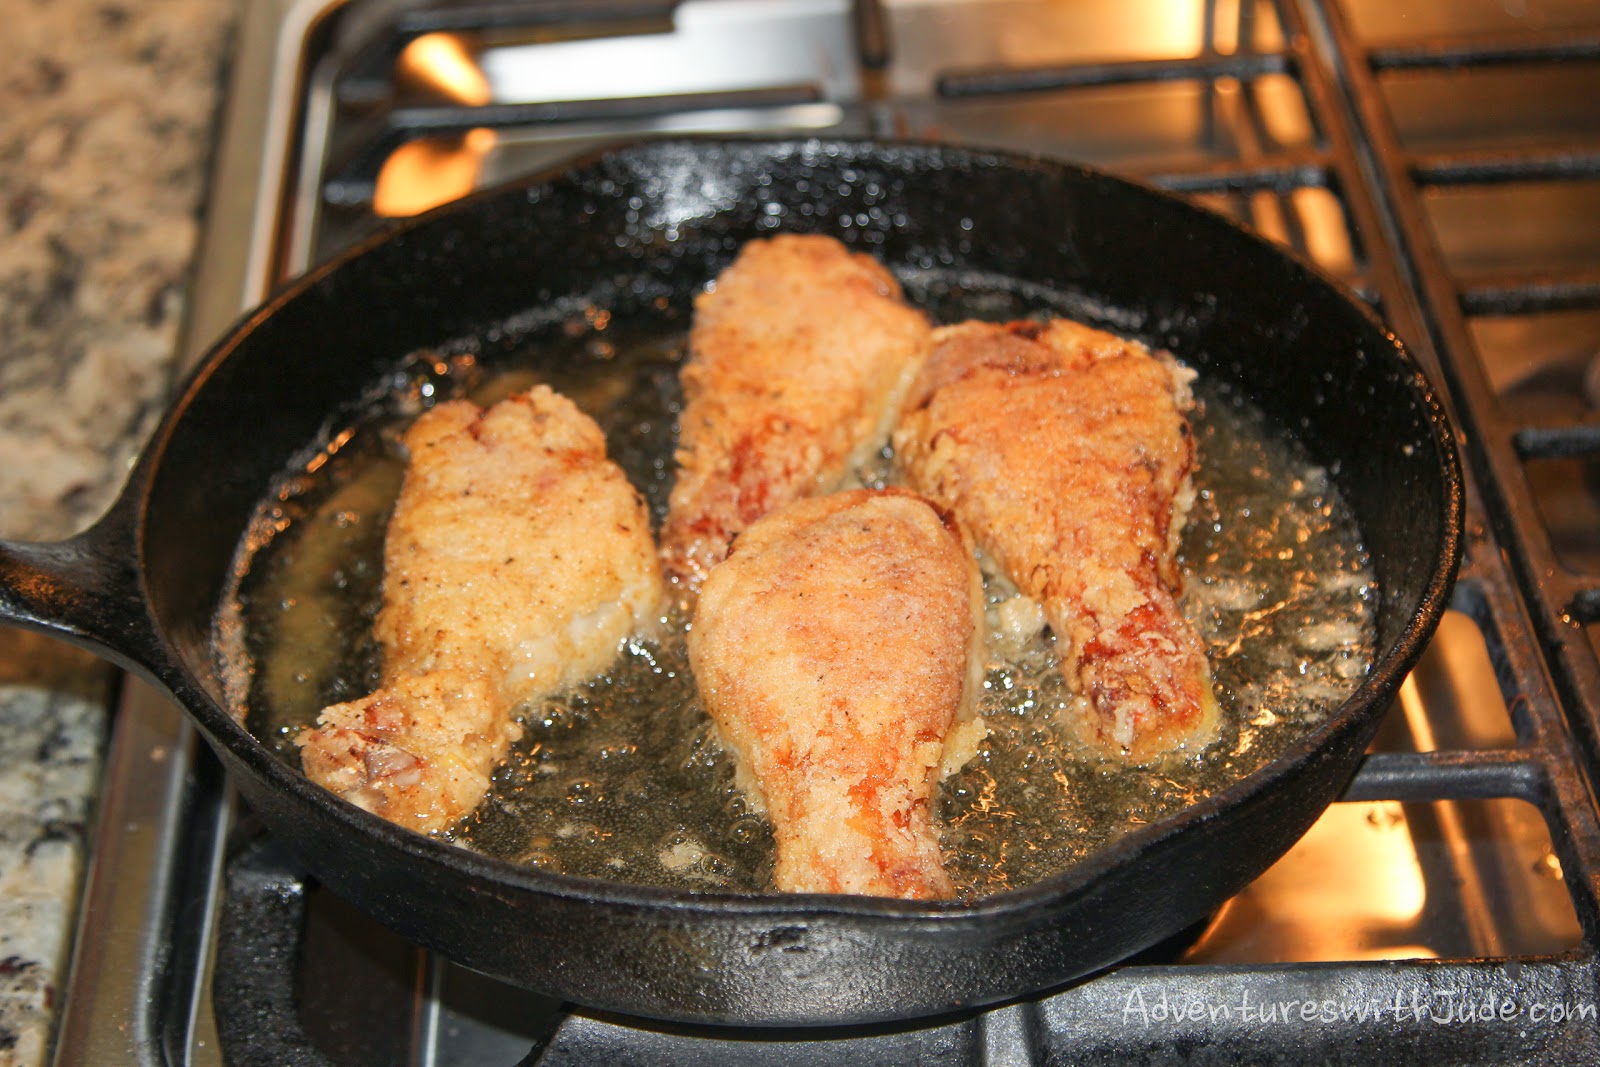
6. Heat a 10” cast iron skillet over medium heat. Add lard to the pan, and allow to melt and then heat to about 325°F. (Do not go over 350°F.)

7. In a wide and shallow container, mix eggs and milk together. The separation of your liquids from dry ingredients is important.


8. With one hand only, take a piece of chicken, and completely coat it lightly in the liquid mixture. Using the same hand, move the coated chicken to the flour mixture used earlier.

9. Using your other hand only, apply another dry coat (you can pack the flour mixture on a little heavier than the first coat). Return chicken to the rack for the coating to set. Repeat process until all the chicken is coated.

Note: You only want to use one hand for each mixture because the liquid will cause the dry mixture to stick to your hand, not the chicken.


11. Check your lard temperature. When it is hot enough, use a pair of tongs to carefully place the chicken in the pan. (The melted lard will cause severe burns if it splashes on you, so place the chicken all the way in the pan before letting go.) Cook chicken for 10 minutes on each side (internal temperature should be about 180°F).

Fried Chicken Cast Iron Skillet


12. Remove chicken and drain on paper towels. Cover loosely with foil to keep warm.  Cook chicken in batches until it is all prepared.  Make sure to check between batches that there is both enough lard in the pan (about 1 to 1 ½ inches) and that it has returned to 325ºF.


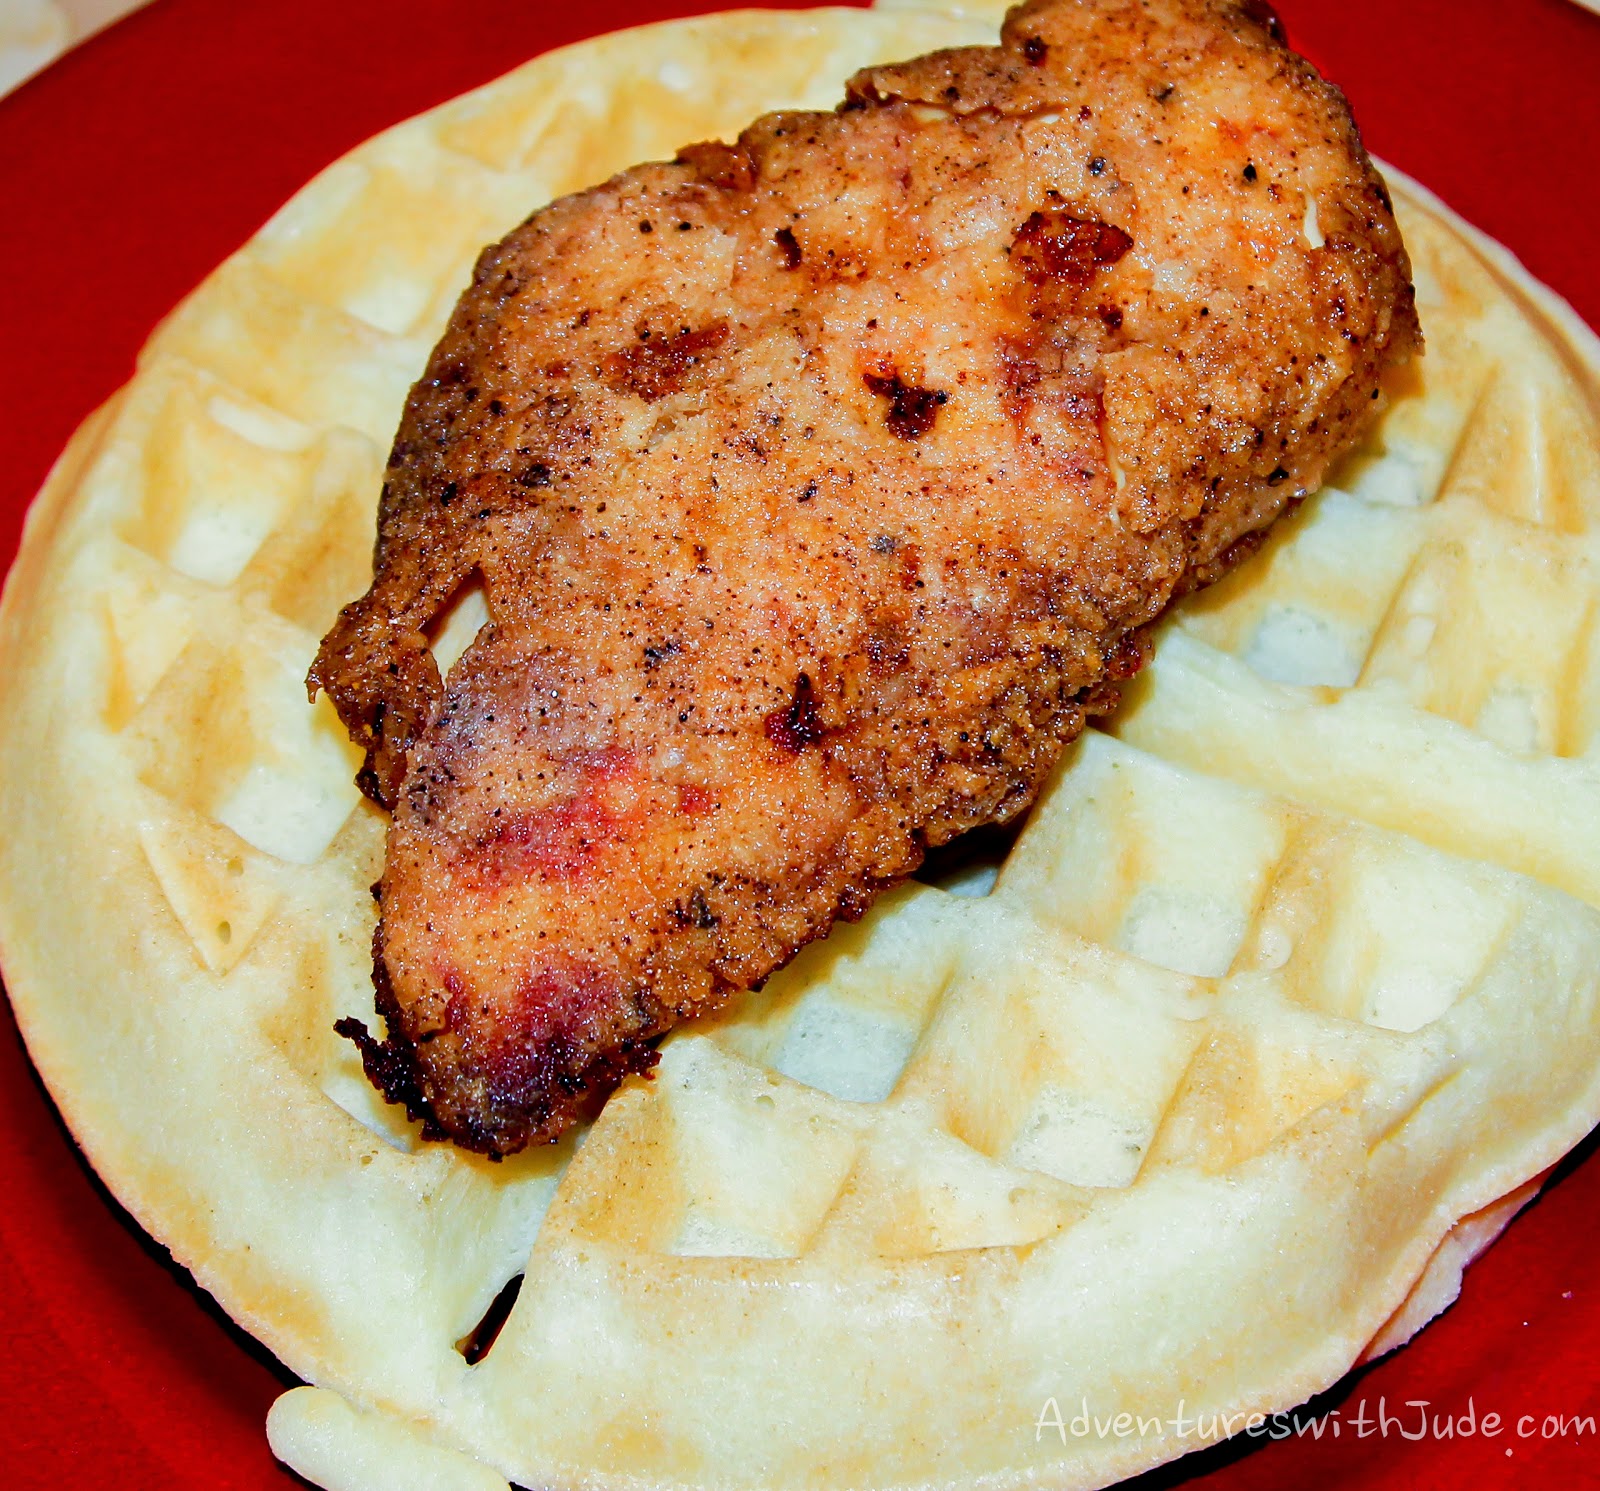
A traditional farm side dish is potatoes -- either mashed potatoes or potato salad. Another option - an American “soul food” favorite - is to serve the chicken with waffles and top with honey or maple syrup.

Gluten Free Dairy Free Chicken and Waffles


http://www.adventureswithjude.com/search/label/Lukes%20American%20Adventures http://www.adventureswithjude.com/search/label/Homeschooling%20in%20the%20Kitchen

©2012- 2014 Adventures with Jude. All rights reserved. All text, photographs, artwork, and other content may not be reproduced or transmitted in any form without the written consent of the author. http://adventureswithjude.com
Related Posts Plugin for WordPress, Blogger...
Pin It button on image hover