

Each year, Celia's school has a "Pi Day" pie contest. All pies are dessert pies and need to be homemade. Celia was eligible to enter the contest this year, and she wanted a pie to enter. We could easily do a chocolate filling, using her Coconut Chocolate Pudding. It makes a smooth chocolate filling that is a denser reminiscence of a silk pie, but what would we use for a crust?
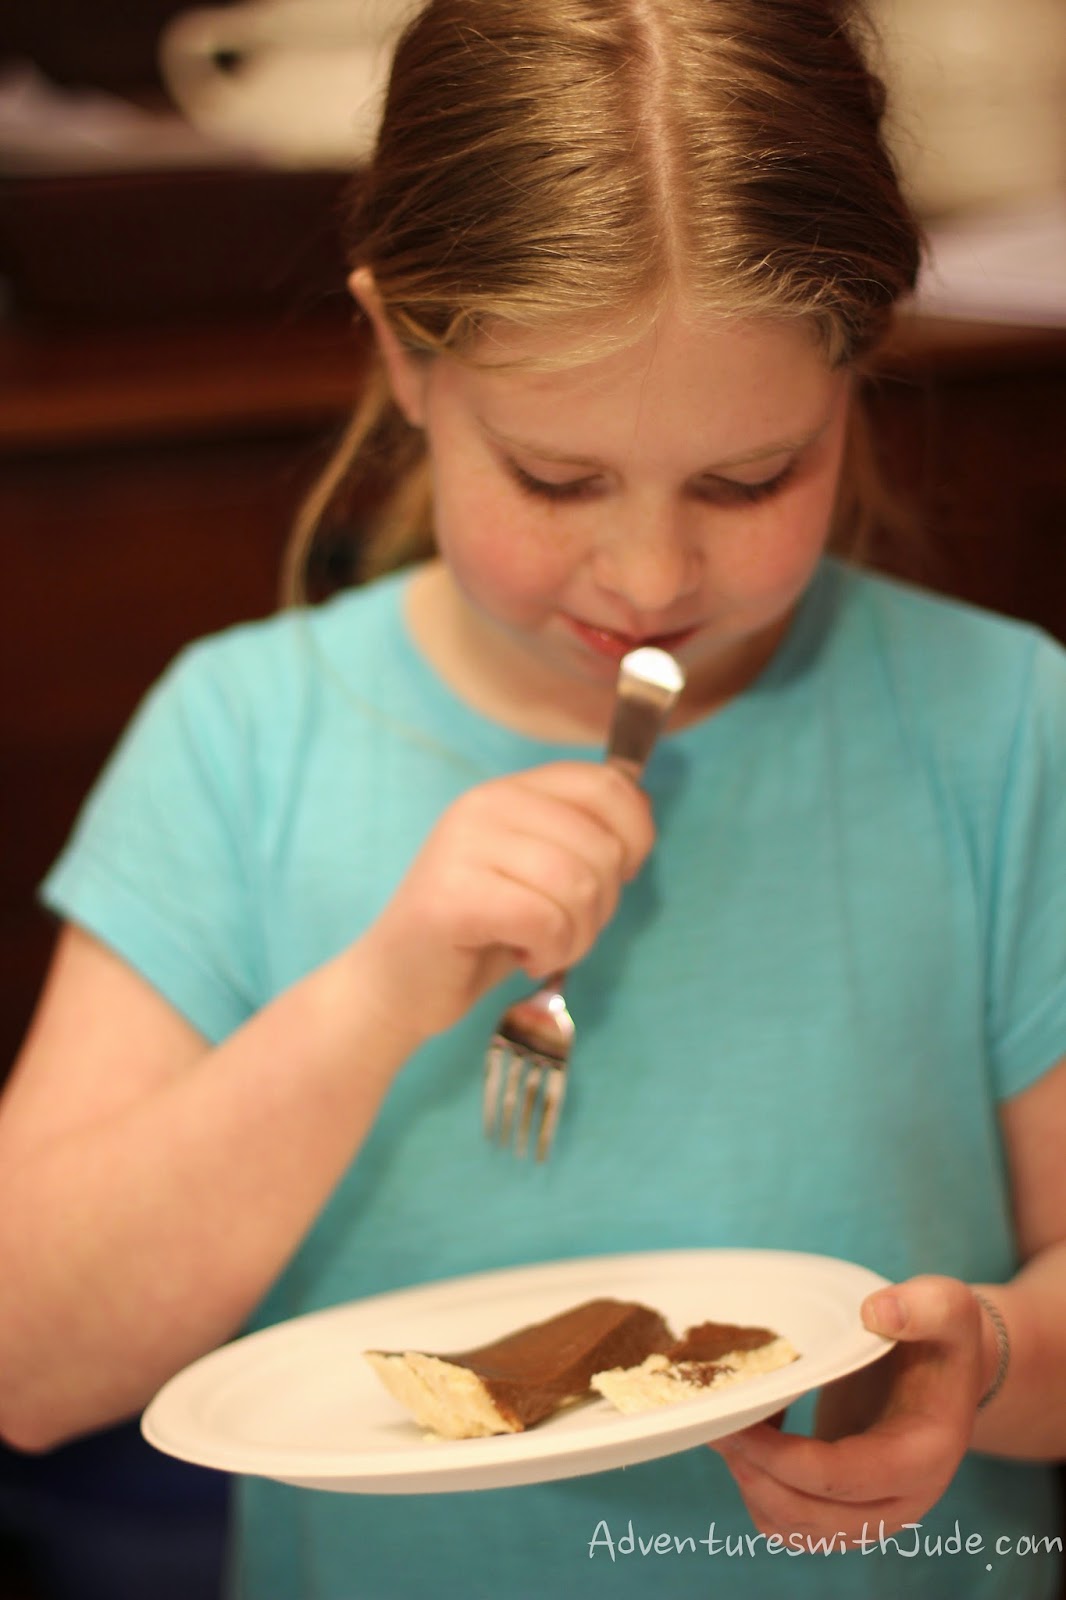
After a little tinkering, we adapted this coconut bar filling into a press-in-the-pan crust. We found that the coconut cream from Let's Do Organic was best for this pie because it is "concentrated" and drier than canned coconut cream. This allows us to control how wet the crust becomes, rather than having to keep adding more and more coconut to dry it out. Best of all, the crust needs no baking, so it's a treat she can make all by herself! Celia calls it "Chocolate Coconut Surprise" - because the surprise for everyone else is she had a pie she could eat to enter the contest with!
Happy π Day!
Coconut Chocolate No-Bake Pie
serves 12-16 -- the filling is rich so cut slices small.
Crust:
1 package Let's Do Organic Coconut Cream
2 Tbsp coconut nectar
4 Tbsp coconut oil + 1 tsp for pie plate
1 c. shredded coconut
2 Tbsp hot tap water
Soften coconut cream, either in a mug filled with hot water or the microwave. (If you use the microwave, only heat it in 5-second increments.) Knead occasionally until the packet is pliable. Add to a medium sized bowl.
Add coconut oil and coconut nectar to the coconut cream. (If you measure the oil first, the residue in the measuring spoon will keep the nectar from sticking.) Stir until smooth.

Add shredded coconut to the mix, and stir until as combined as possible. All of the coconut may not fully incorporate until you add water to the mix.
Add hot water to the coconut mix and stir until all ingredients are fully combined. Check the mixture carefully to make sure there aren't any lumps of coconut oil. (If there are, press them into the mix with the back of the spoon and stir to distribute.)
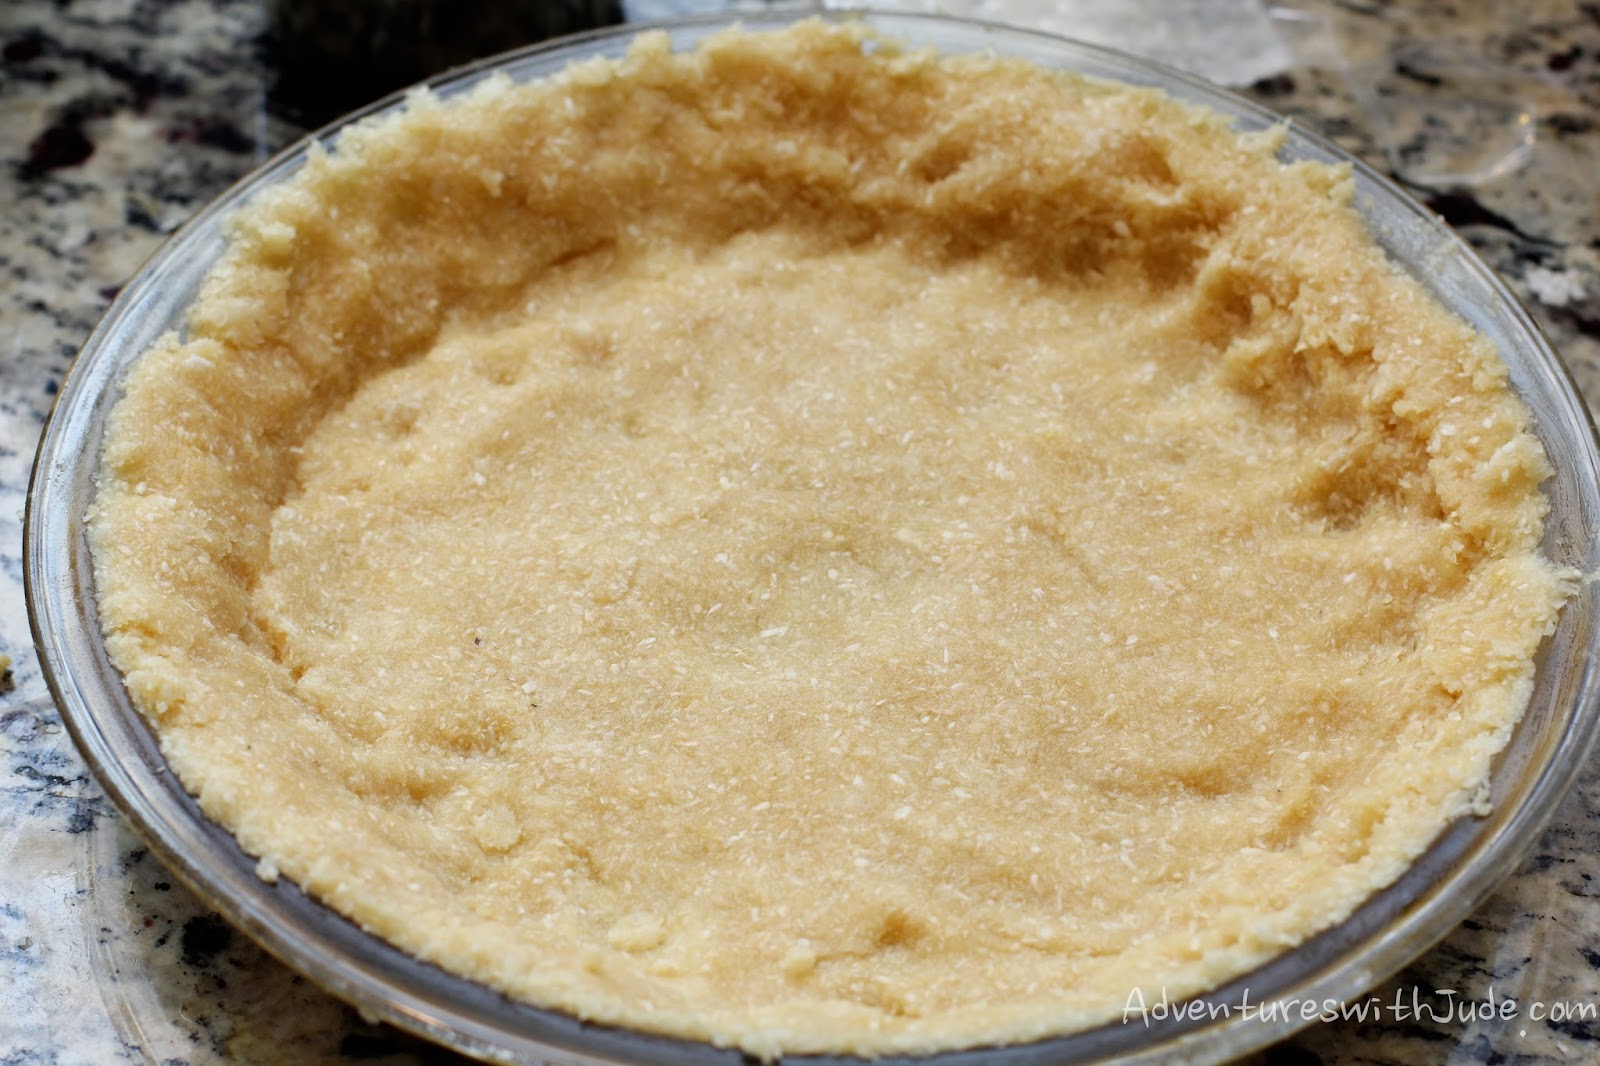
Grease a 9" glass pie plate with 1 tsp coconut oil. (You don't want a thick coating, just enough to make the pan shiny.) Turn mixture into the pie plate, and press into the pan to make a pie shell.
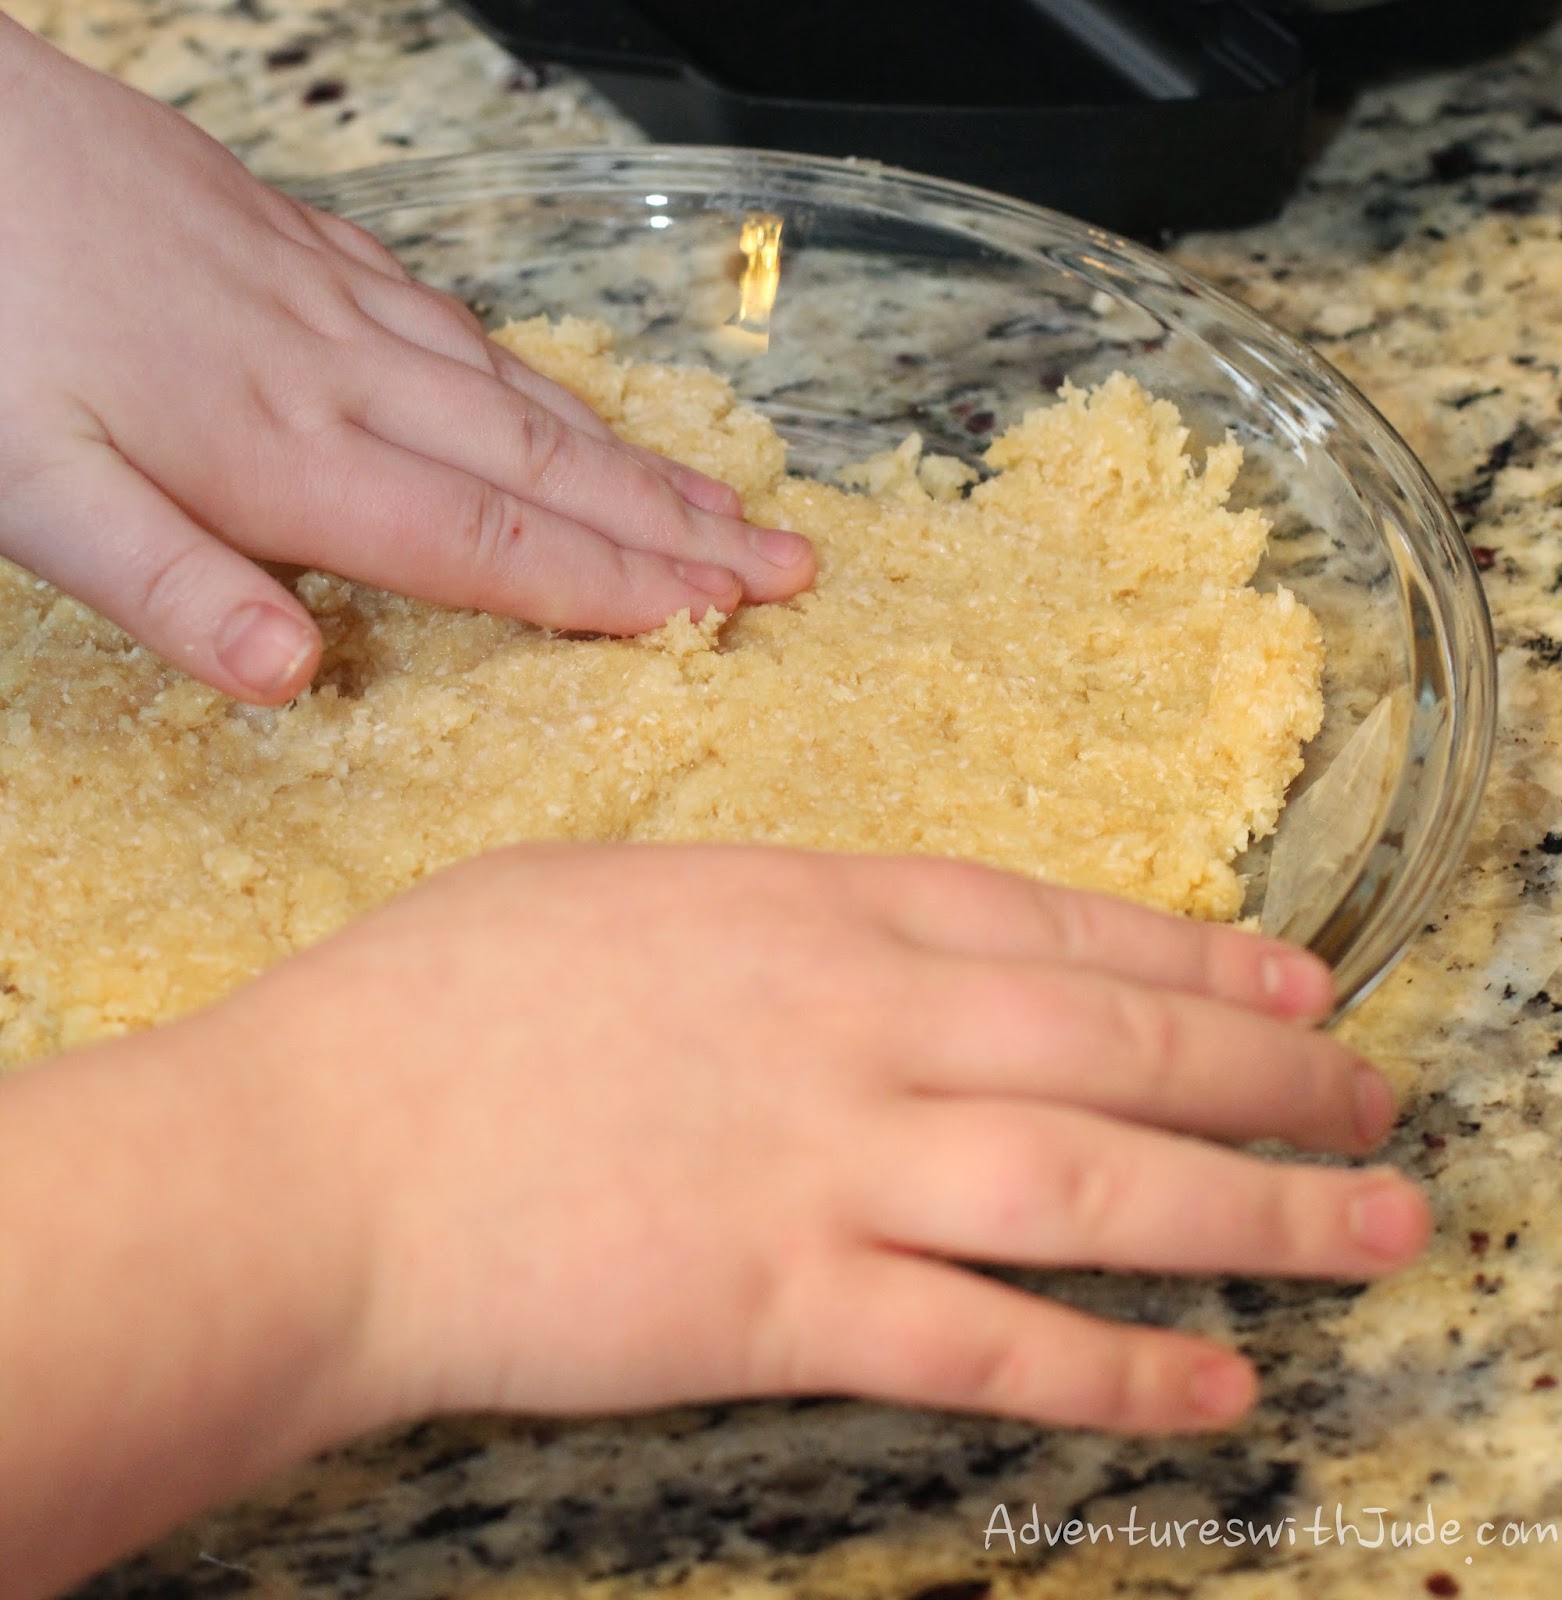
Cover and refrigerate about 2 hours or until solid. (Because the filling will be warm, you want to make sure your crust is solid so it doesn't melt when the filling is added.)
Filling:
1 13.5 oz can full-fat coconut milk (or 1 3/4 cups coconut milk beverage, ie So Delicious)
1 1/2 tsp unflavored gelatin (half a packet)
15 oz Enjoy Life chocolate chips (approx. 2 1/2 cups)
1/4 tsp salt
Shake coconut milk vigorously for 10 seconds.
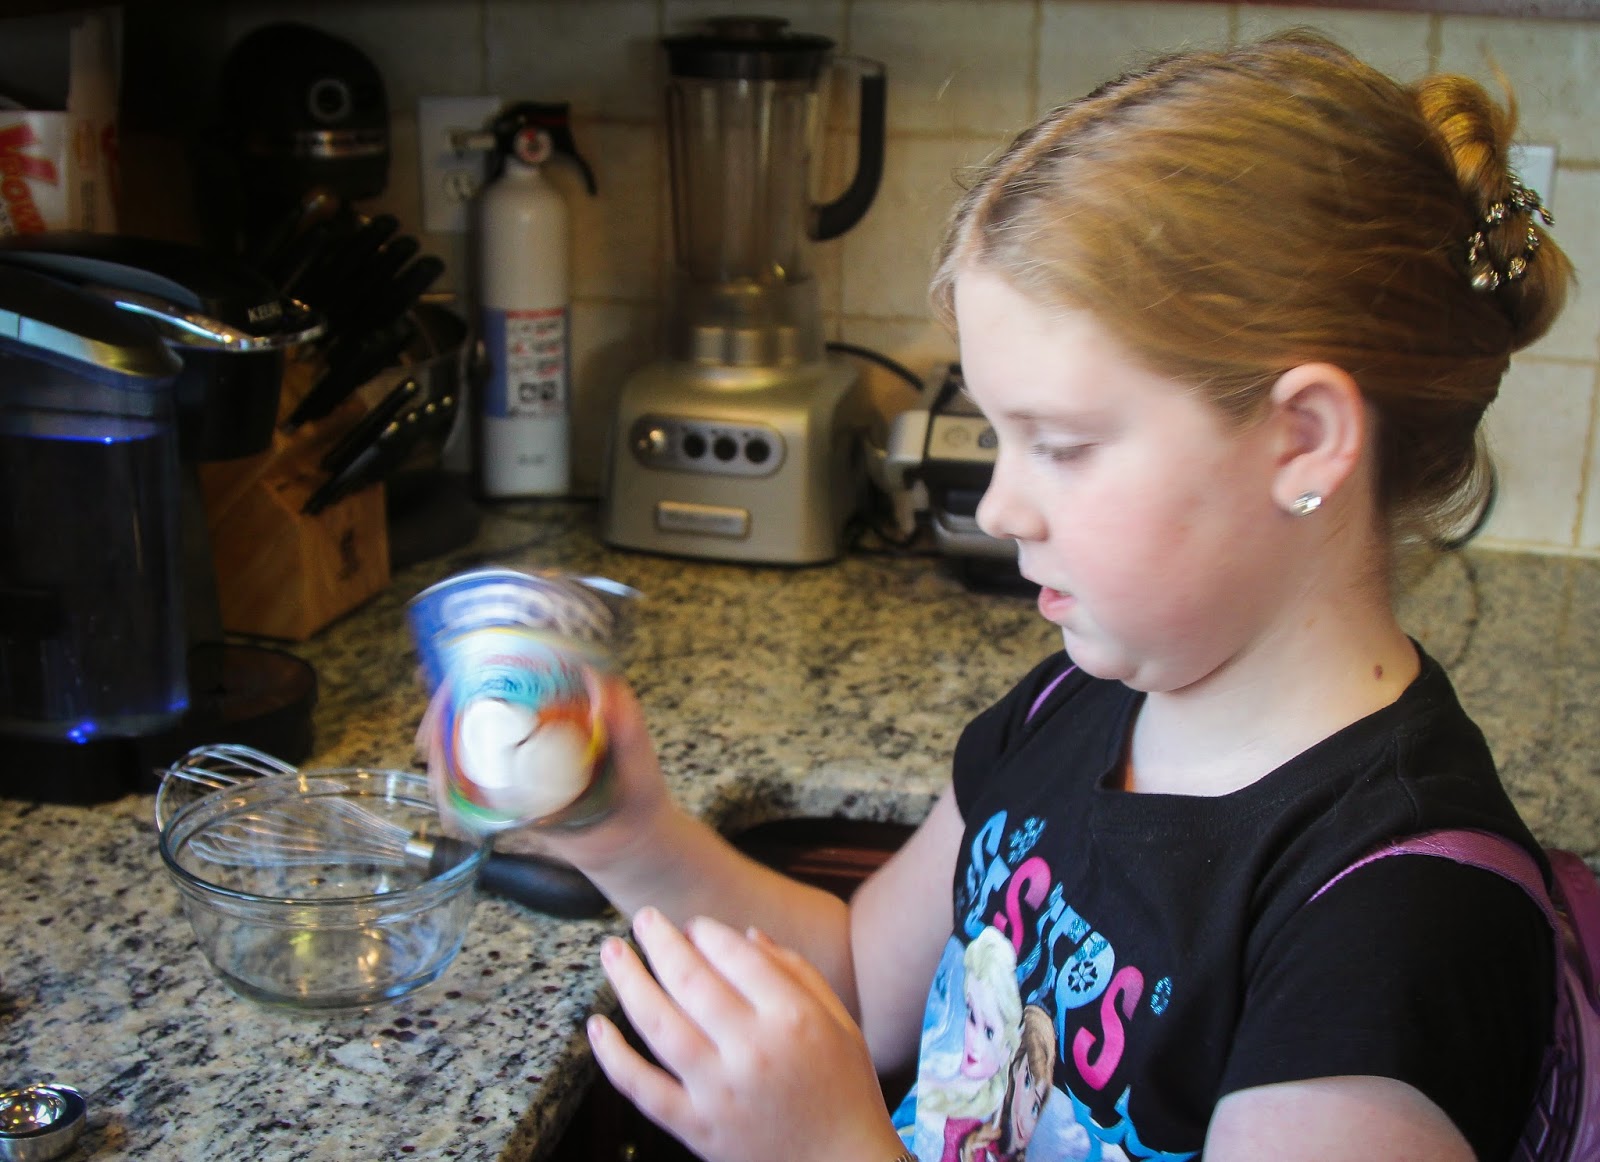
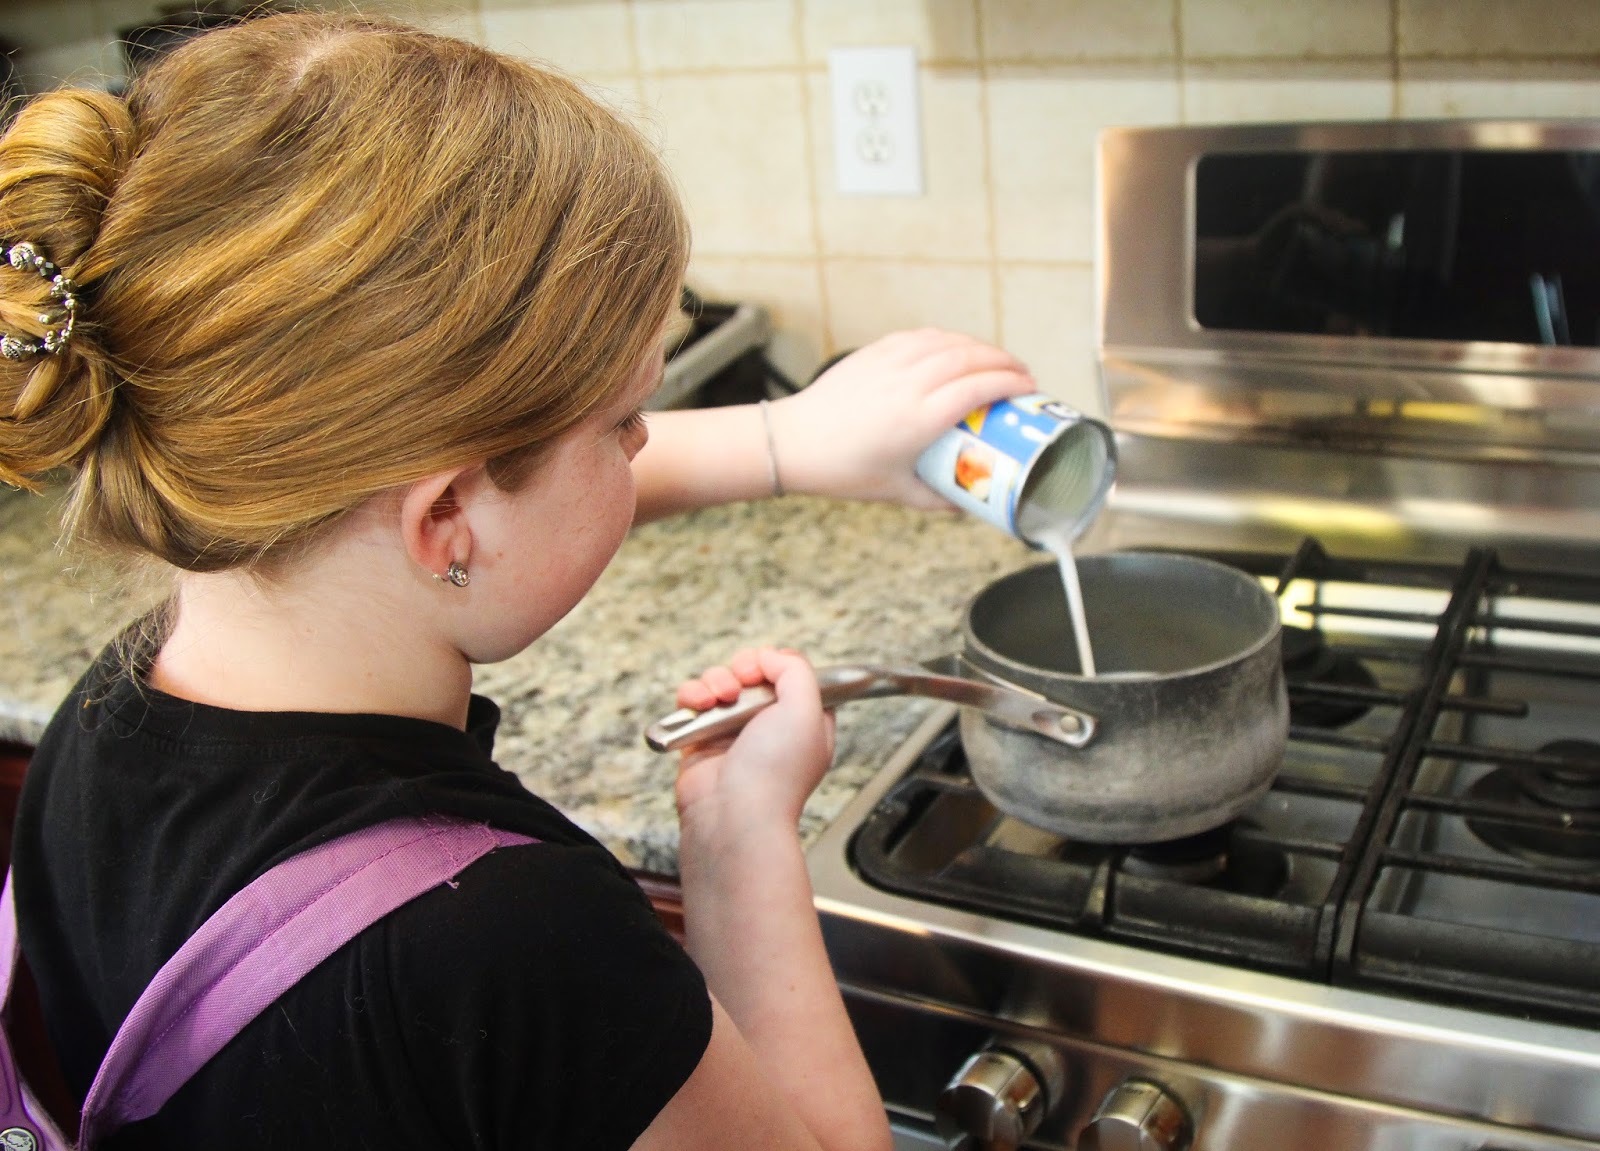
Pour milk into a small saucepan.
Remove 2 Tbsp milk to a mixing bowl.
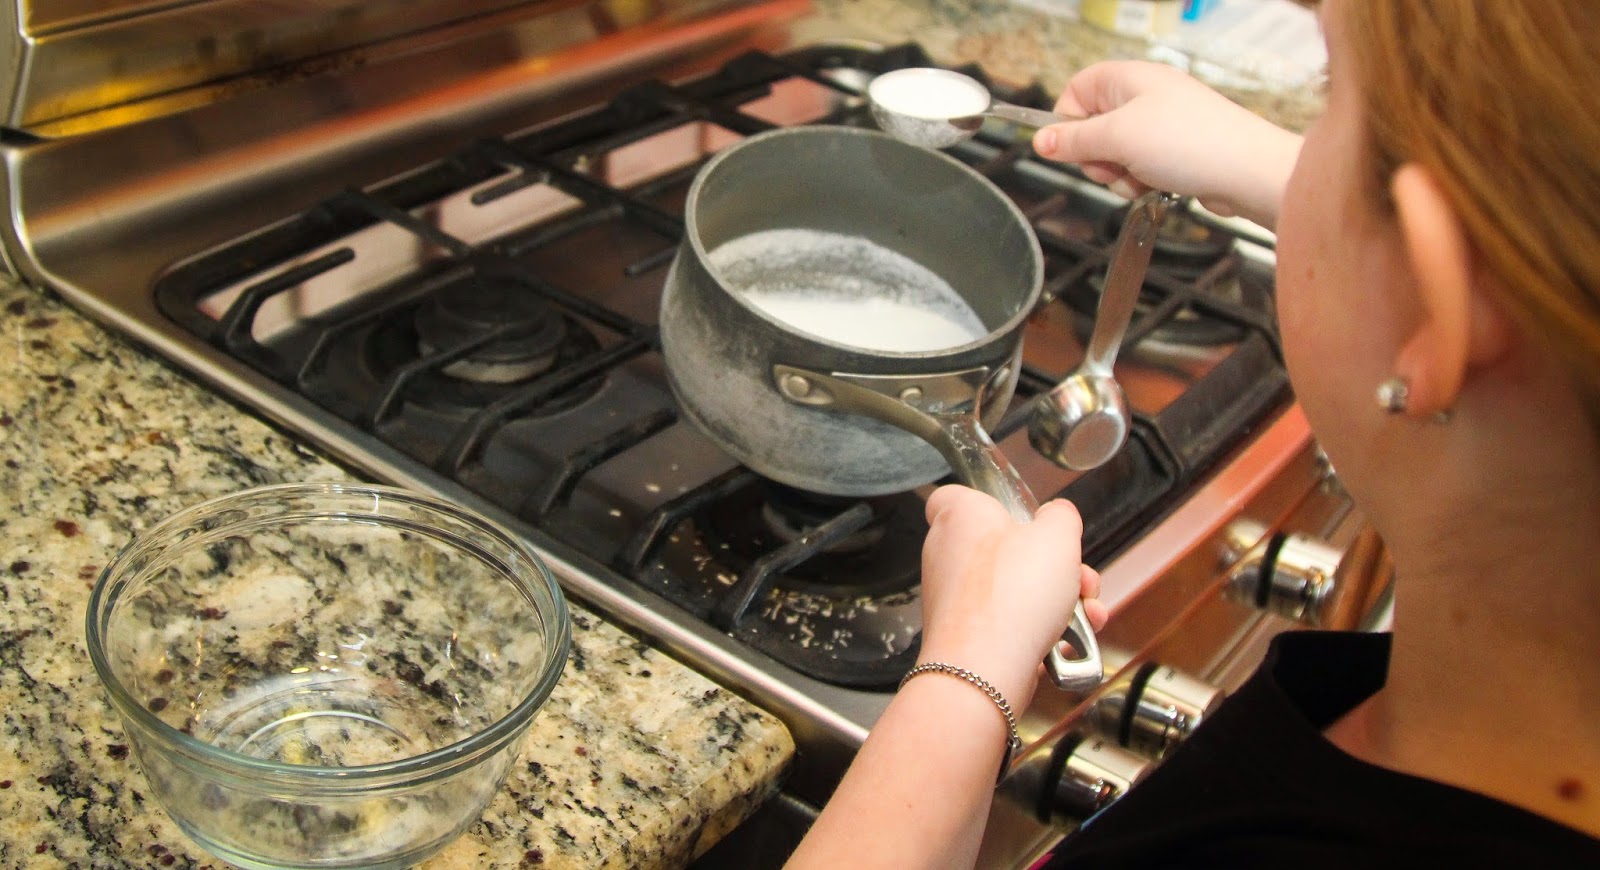
Turn on burner and heat milk until steaming.
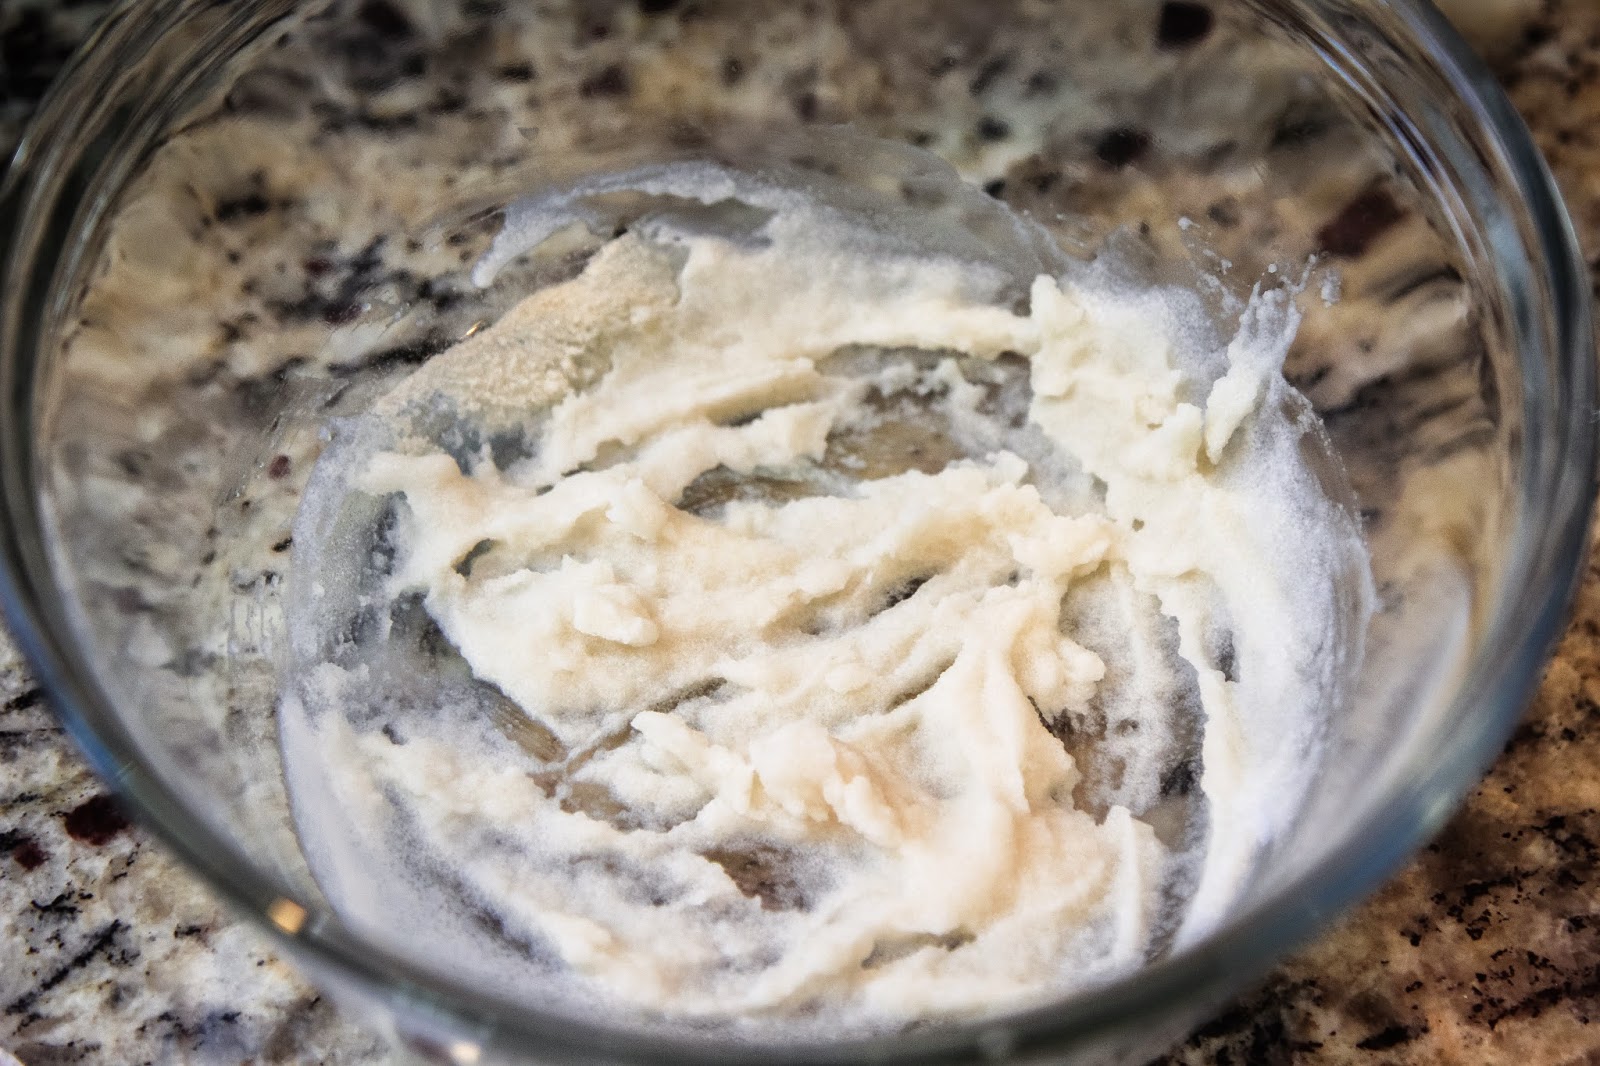
Add gelatin into the coconut milk in the mixing bowl. Whisk until combined.
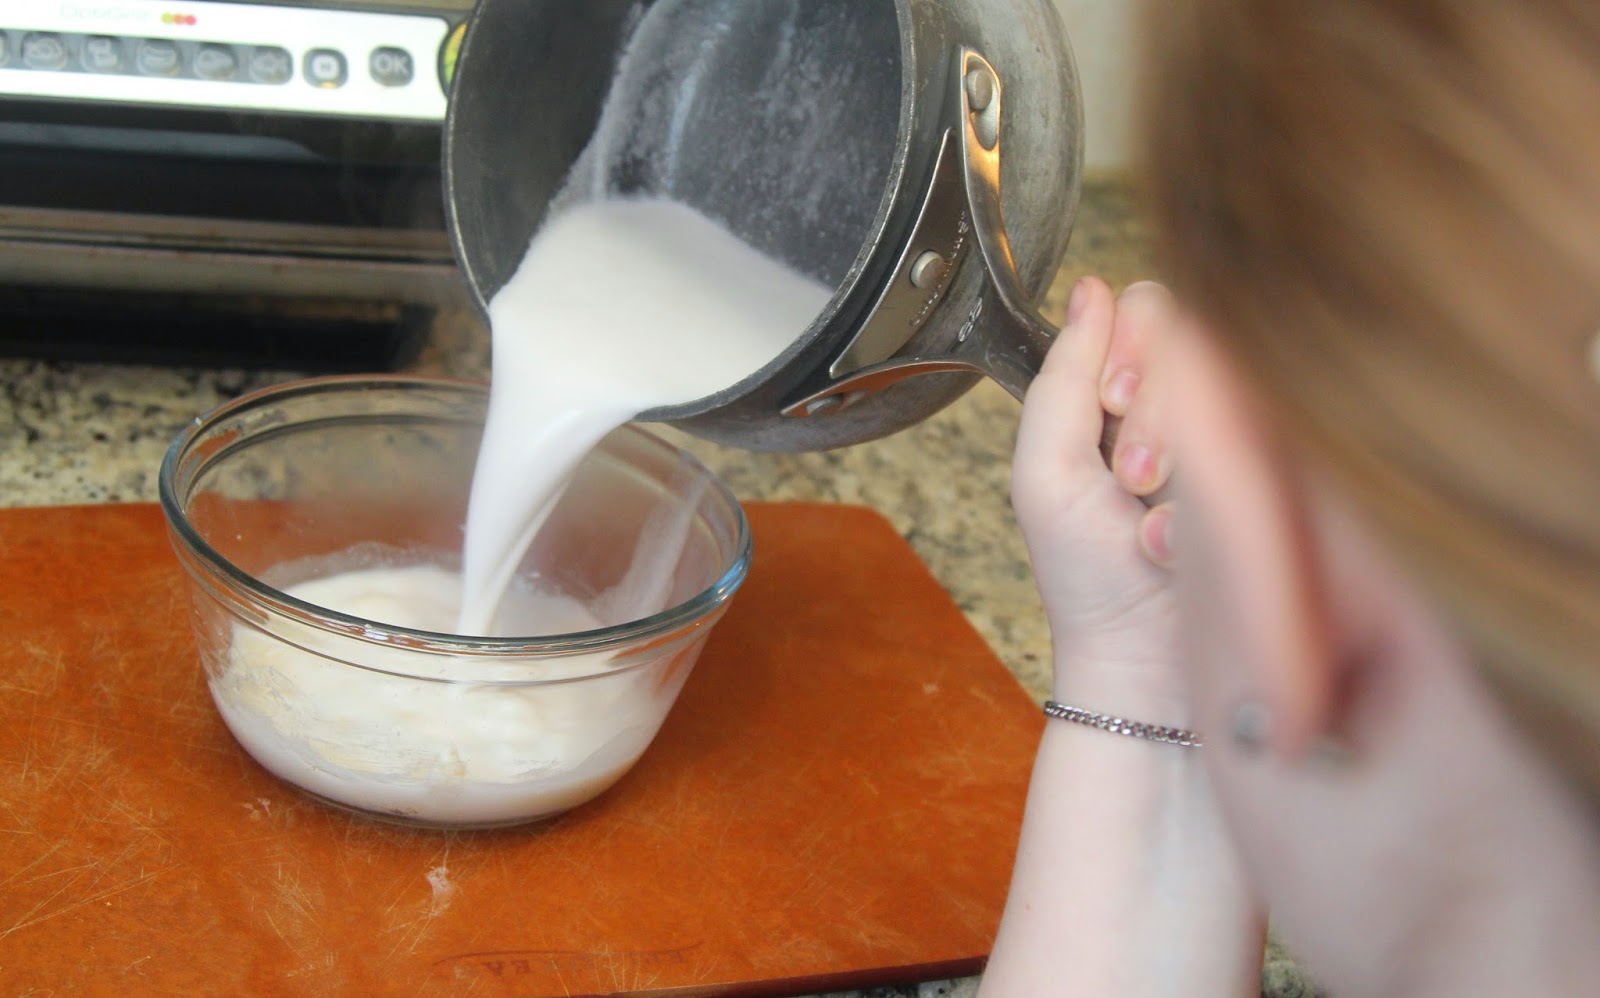
Add hot milk to gelatin mixture and whisk until smooth.
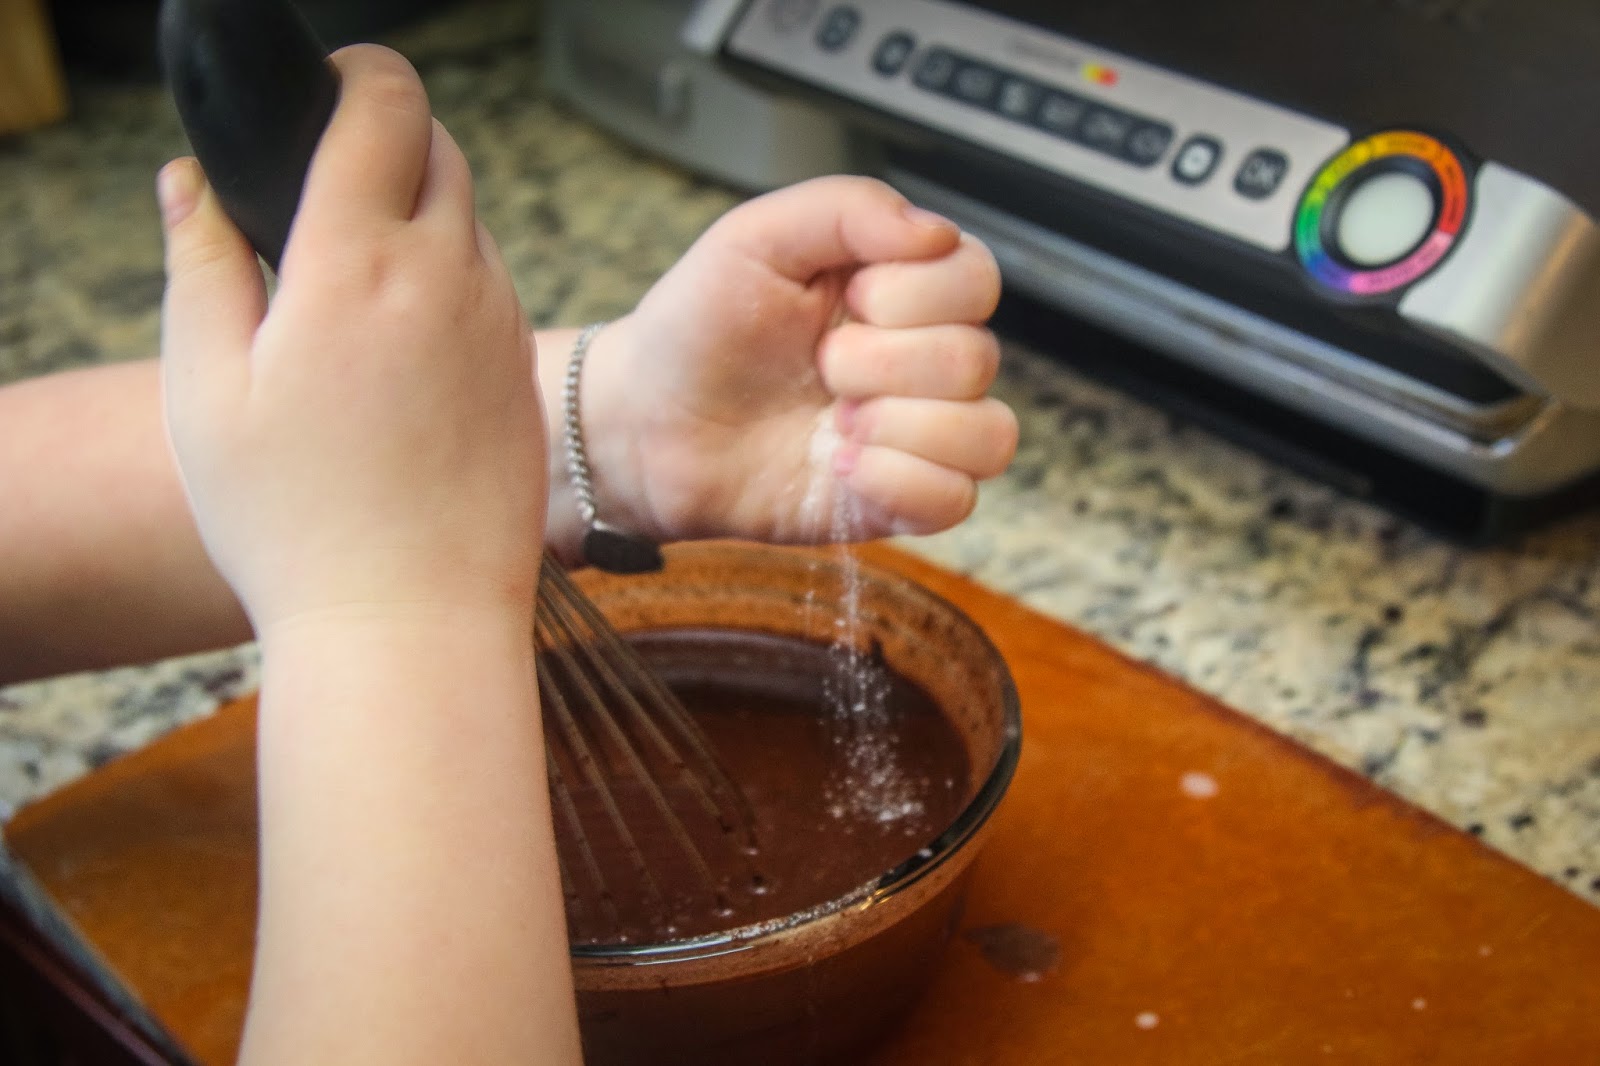
Add chocolate and allow to sit 2-3 minutes (until chocolate softens and begins to melt). Whisk the mixture until smooth.

Whisk in the salt. Be careful to add it fairly evenly, rather than in one big pile. (Tip: Pour the salt into your hand so you have better control over it.)
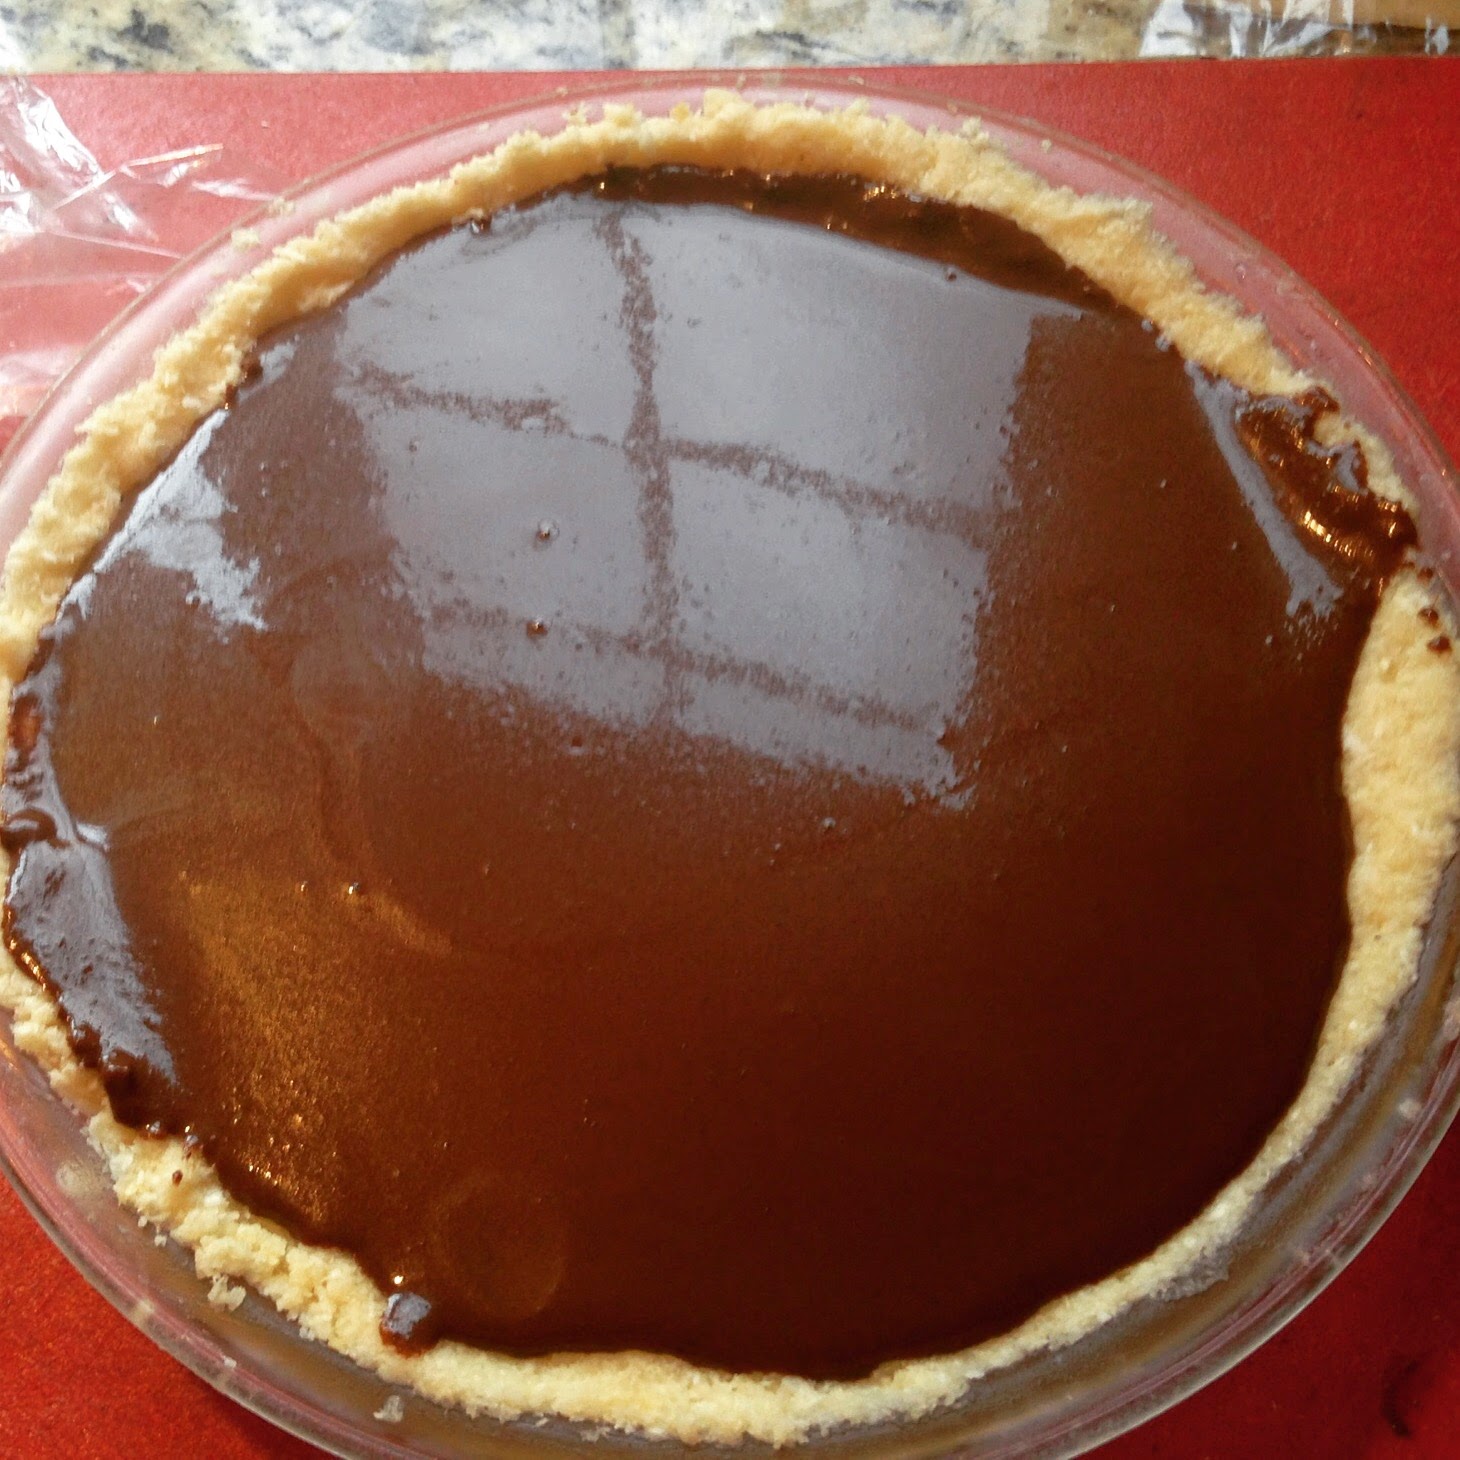
Pour the pudding mixture into the prepared pie crust. Gently shimmy to level it.
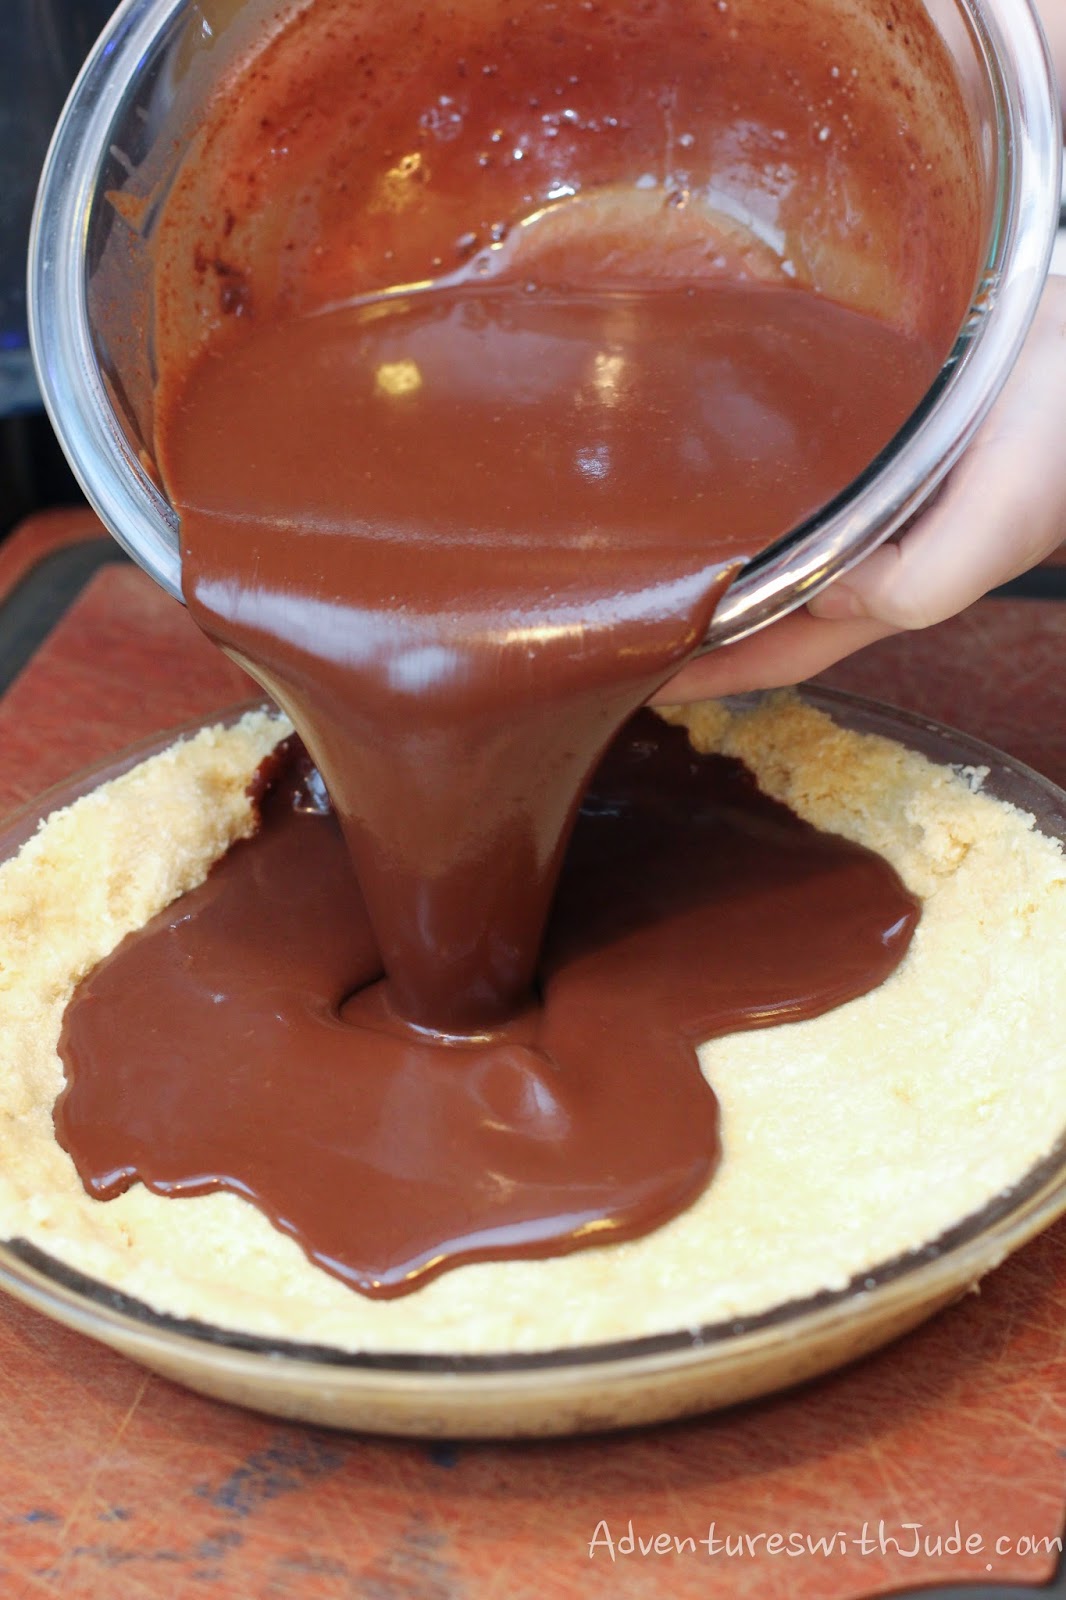
Place a piece of plastic wrap on top of the pudding so that a "skin" does not form. Allow to set for 4-6 hours.
Slice and enjoy. Every day can be Pie Day!
©2012- 2015 Adventures with Jude. All rights reserved. All text, photographs, artwork, and other content may not be reproduced or transmitted in any form without the written consent of the author. http://adventureswithjude.com

No comments:
Post a Comment